
深度摄像头D415在python中的使用
·
本文参考
【OpenCV 4】伪色彩 applyColorMap() 函数使用_kingkee的博客-CSDN博客_applycolormap函数
利用D415读取 需要标记的人脸face_recognition的距离 Python + wind10_weixin_44576543的博客-CSDN博客
目录
D415是深度图像的摄像机
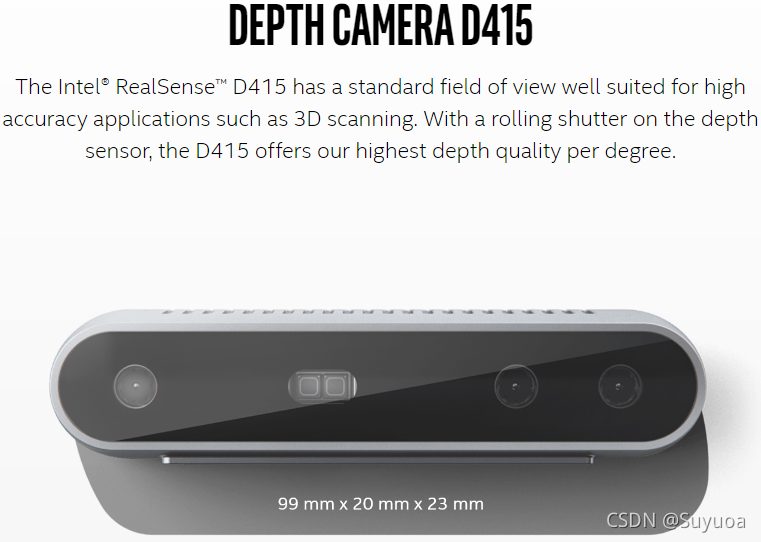
我们使用python进行驱动
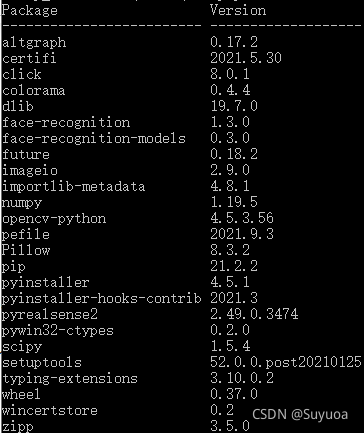
1.环境安装
python版本3.7,下面这些包使用pip都可以安装上,我是使用conda创建的环境,可能有的与使用别的环境不太一样
2.获取双目图像
我们使用普通彩色图像与红外线图像
import pyrealsense2 as rs
import numpy as np
import cv2

pipeline = rs.pipeline()
config = rs.config()
config.enable_stream(rs.stream.color, 640, 480, rs.format.bgr8, 30)
config.enable_stream(rs.stream.infrared,  640, 480, rs.format.y8, 30)
pipeline.start(config)

try:
    while True:
        # Wait for a coherent pair of frames: depth and color
        frames = pipeline.wait_for_frames()

        color_frame = frames.get_color_frame()
        depth_frame = frames.get_infrared_frame()

        # Convert images to numpy arrays 把图像转换为numpy data
        depth_image = np.asanyarray(depth_frame.get_data())
        color_image = np.asanyarray(color_frame.get_data())
        color_image = cv2.cvtColor(color_image,cv2.COLOR_BGR2GRAY)

        # Stack both images horizontally 把两个图片水平拼在一起
        images = np.hstack((color_image, depth_image))

        # Show images 展示一下图片
        cv2.namedWindow('RealSense', cv2.WINDOW_AUTOSIZE)
        cv2.imshow('RealSense', images)

        key = cv2.waitKey(1)
        if key == ord(' '):
            break

finally:
    # Stop streaming
    pipeline.stop()
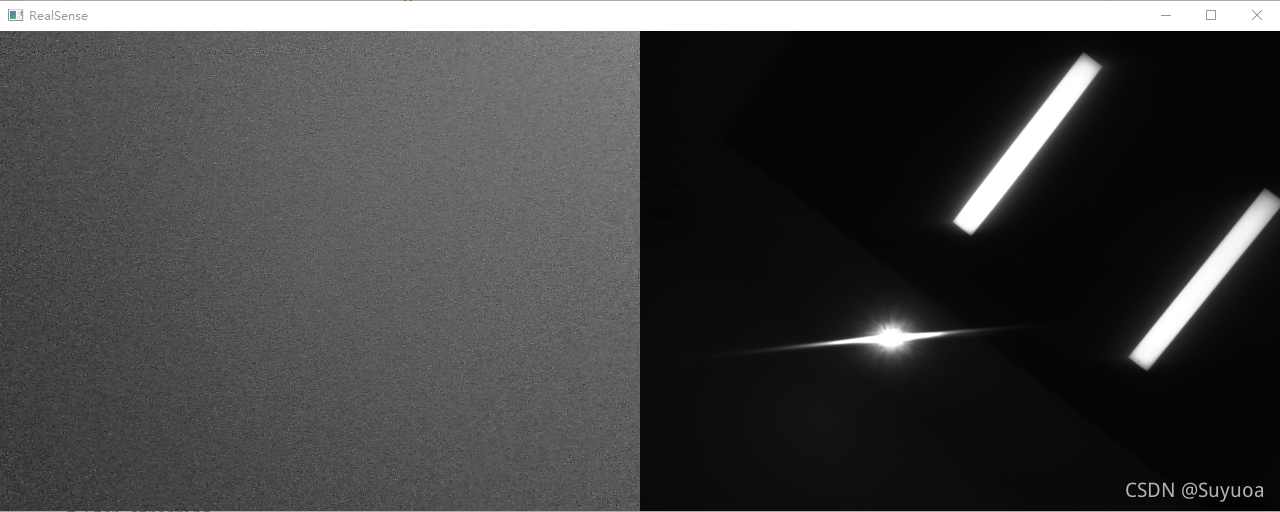
运行后的效果是这样的,左侧本来是彩色的图像,我将其转换为灰度图像

红外线图像中会有纹路一样的东西
 当我用手挡住其中彩色的摄像头,红外线摄像头不受影响
3.深度图像的获取
我使用了彩色原图像与深度图像进行对比,要不然效果不明显
import pyrealsense2 as rs
import numpy as np
import cv2

pipeline = rs.pipeline()
config = rs.config()
config.enable_stream(rs.stream.depth, 640, 480, rs.format.z16, 30)
config.enable_stream(rs.stream.color, 640, 480, rs.format.bgr8, 30)

# Start streaming
pipeline.start(config)

try:
    while True:
        # Wait for a coherent pair of frames: depth and color
        frames = pipeline.wait_for_frames()

        depth_frame = frames.get_depth_frame()
        color_frame = frames.get_color_frame()

        if not depth_frame or not color_frame:
            continue

        # Convert images to numpy arrays 把图像转换为numpy data
        depth_image = np.asanyarray(depth_frame.get_data())
        color_image = np.asanyarray(color_frame.get_data())

        # Apply colormap on depth image (image must be converted to 8-bit per pixel first) 在深度图上用颜色渲染
        depth_colormap = cv2.applyColorMap(cv2.convertScaleAbs(depth_image, alpha=0.03), cv2.COLORMAP_JET)
        depth_colormap = cv2.blur(depth_colormap,(3,3))

        # Stack both images horizontally 把两个图片水平拼在一起
        images = np.hstack((color_image, depth_colormap))

        # Show images 展示一下图片
        cv2.namedWindow('RealSense', cv2.WINDOW_AUTOSIZE)
        cv2.imshow('RealSense', images)

        key = cv2.waitKey(1)
        if key == ord(' '):
            break
finally:
    # Stop streaming
pipeline.stop()- 代码中的blur滤波不是官方的demo,是我后来加的,加入后感觉上可以识别到更短的距离

这里使用到了伪彩色,如果不加入伪彩色的话,图像是这样的

伪彩色的用法可以参考 【OpenCV 4】伪色彩 applyColorMap() 函数使用_风语留痕-CSDN博客
深度图像是两个摄像头的综合结果,挡上两个中的一个摄像头,深度图像就会消失
更多推荐

 5
 0
- 0


 已为社区贡献7条内容

所有评论(0)