
搭建apache服务器
·
本文是一篇对apache服务器搭建以及http.conf配置文件的详解。(作者是个小白如果有错误欢迎指出)
文章目录
一.apache网站服务
1.apache简介和使用
Apache(音译为阿帕奇)是世界使用排名第一的Web服务器软件。它可以运行在几乎所有广泛使用的计算机平台上,由于其跨平台和安全性被广泛使用,是最流行的Web服务器端软件之一。它快速、可靠并且可通过简单的API扩充,将Perl/Python等解释器编译到服务器中。(说白了就是一个web服务器,作用是做一个通过服务器制作一个网页并控制网页的域名,访问权限等,注意这个东西不是前端!)
2.优点
- 支持最新的HTTP/1.1通信协议
- 搭建极为简单并且基本可以在所有计算机平台上运行
- 支持实时监控日志状态
- 支持动态网址和控制访问
- 模块化实现功能
二.搭建前的准备工作
1.配置yum源
由于httpd内置在大部分centos镜像中,我这里就直接通过光盘进行安装apache服务器
[root@localhost ~]# mkdir /etc/yum.repos.d/
[root@localhost ~]# mv /etc/yum.repos.d/* /etc/yum.repos.d/old/
#保存原来的yum源
[centos]
name=redhat7
baseurl=file:///opt
enabled=1
gpgcheck=0
[root@localhost ~] vim /etc/yum.repos.d/centos.repo
#按i进入编辑模式
[centos] #yum仓库标识
name=redhat7 #仓库名字
baseurl=file:///opt #仓库的路径这里是/opt下
enabled=1 #仓库是否启动
gpgcheck=0 #是否需要安全检查
:wq#保存退出
#创建新的yum源
[root@localhost ~]mount /dev/cdrom /opt/
mount: /dev/sr0 写保护,将以只读方式挂载
[root@localhost ~] yum repolist
已加载插件:fastestmirror
Loading mirror speeds from cached hostfile
源标识                                                                      源名称                                                                       状态
centos                                                                      redhat7                                                                      3,894
repolist: 3,894
#挂载镜像并且刷新yum仓库
2.安装httpd
[root@localhost ~] yum -y install httpd
已加载插件:fastestmirror
centos                                                                                                                                 | 3.6 kB  00:00:00
Loading mirror speeds from cached hostfile
软件包 httpd-2.4.6-67.el7.centos.x86_64 已安装并且是最新版本
无须任何处理
#我已经安装过了所以这里无需处理
三.httpd讲解
1.httpd启动
[root@localhost ~]# systemctl start httpd #启动httpd服务
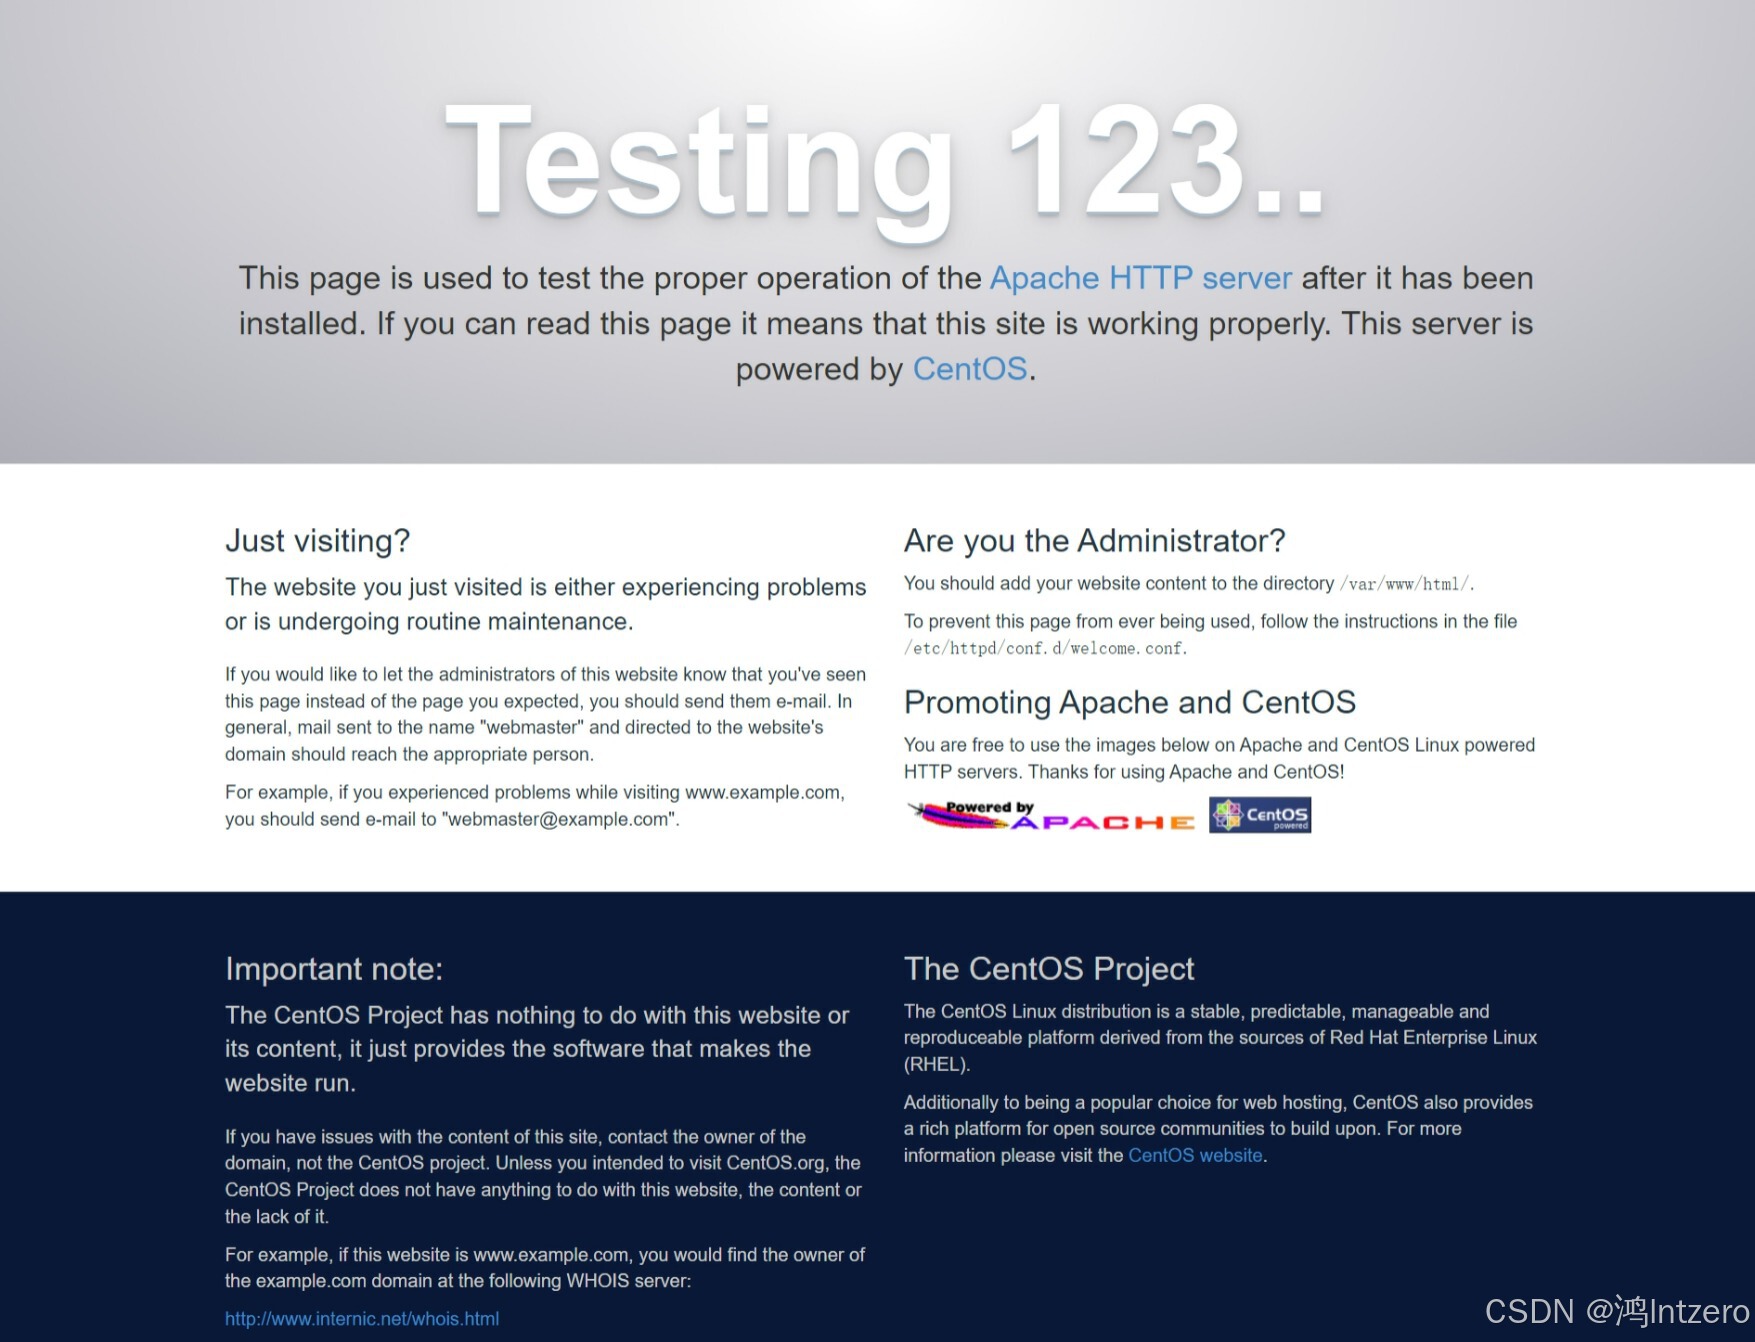
现在直接在浏览器中通过就可以访问httpd服务了
如图
如果无法打开请先关闭防火墙
[root@localhost ~] systemctl stop firewalld #关闭防火墙
[root@localhost ~] systemctl status firewalld #查看防火墙状态
● firewalld.service - firewalld - dynamic firewall daemon
   Loaded: loaded (/usr/lib/systemd/system/firewalld.service; enabled; vendor preset: enabled)
   Active: inactive (dead) since 五 2024-10-04 10:33:40 CST; 1min 7s ago
     Docs: man:firewalld(1)
 Main PID: 723 (code=exited, status=0/SUCCESS)
# 显示dead表示已经成功关闭了防火墙(防火墙默认只允许ssh dhcp 协议通过)
[root@localhost ~] firewall-cmd --list-all  #查看防火墙
   public (active)
  target: default
  icmp-block-inversion: no
  interfaces: ens34
  sources:
  services: ssh dhcpv6-client #允许的协议
  ports:
  protocols:
  masquerade: no
  forward-ports:
  source-ports:
  icmp-blocks:
  rich rules:
2.httpd简单使用
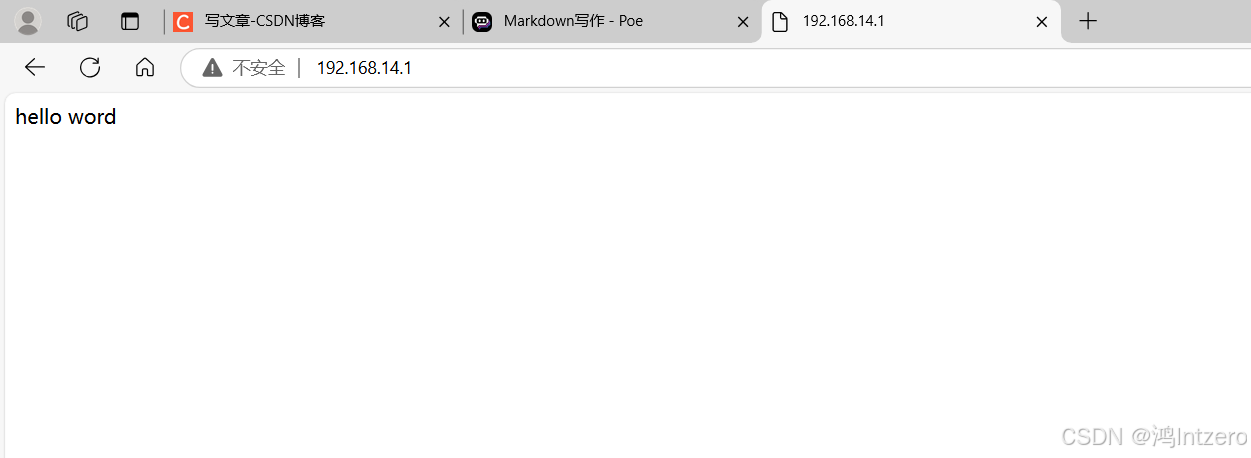
[root@localhost ~]# echo hello word > /var/www/html/index.html
刷新页面就可以看到效果
如图
四.http.conf配置文件
1.基于域名的虚拟主机
[root@localhost ~]# vim /etc/httpd/conf.d/test.conf #创建一个httpd的配置文件
#按i编辑
<VirtualHost *:80>  #*.80 *代表所有主机可以访问,80是端口
    ServerName example.com  #ServerName 指定了虚拟主机的域名为example.com
    DocumentRoot /var/www/example #DocumentRoot 指定了虚拟主机的主目录(也是就访问域名默认取文件的路径)
</VirtualHost> #《/VirtualHost》代表这是一个虚拟主机

<VirtualHost *:80>
    ServerName test.com
    DocumentRoot /var/www/test
</VirtualHost>
:wq保存并且退出
systectl restart httpd #重启httpd服务
[root@localhost ~] vim /etc/hosts #添加主机映射
127.0.0.1   localhost localhost.localdomain localhost4 localhost4.localdomain4::1         localhost localhost.localdomain localhost6 localhost6.localdomain6
192.168.14.1 example.com
192.168.14.1 test.com
[root@localhost ~] curl test.com
test
[root@localhost ~] curl example.com
exapmle
#测试
2.访问控制权限修改
<VirtualHost *:80>
    ServerName test.com
    DocumentRoot /var/www/test
</VirtualHost>
<VirtualHost *:80>
    ServerName example.com
    DocumentRoot /var/www/example
    <Directory "/var/www/example">
       Require all denied #拒绝所有主机访问
    </Directory>
</VirtualHost>
systectl restart httpd #重启httpd服务
curl example.com #测试发现无法访问了
本人第一次写博客的代码,中间可能很多地方有问题欢迎指出!
更多推荐


 16
 0
- 0


 已为社区贡献1条内容

所有评论(0)