
源码手动编译安装httpd2.4(systemd或chkconfig管理服务)
·
一、手动编译安装httpd
1. 下载并解压httpd源代码
配置httpd源代码并进行编译和安装:
wget https://downloads.apache.org/httpd/httpd-2.4.62.tar.gz
tar -zxvf httpd-2.4.62.tar.gz
cd httpd-2.4.62
2. 安装依赖包
配置httpd源代码并进行编译和安装:
sudo yum install -y gcc make apr-devel apr-util-devel pcre-devel
sudo yum groupinstall "Development Tools"
3. 配置和编译
配置httpd源代码并进行编译和安装:
./configure --prefix=/usr/local/apache2 --enable-so --with-mpm=event
make
sudo make install
4. 配置环境变量
为了方便使用httpd命令,可以将其加入到系统的环境变量中:
echo 'export PATH=/usr/local/apache2/bin:$PATH' >> /etc/profile.d/httpd2.sh
source /etc/profile.d/httpd2.sh
二、配置系统服务(systemd)
systemd是一个更现代、功能更强大的初始化系统,提供了更丰富的服务管理功能,如服务依赖关系管理、资源限制、日志管理等。
1. 创建httpd系统服务文件
创建 /etc/systemd/system/httpd.service文件:
sudo nano /etc/systemd/system/httpd.service
文件内容如下:
[Unit]
Description=The Apache HTTP Server
After=network.target

[Service]
Type=forking
ExecStart=/usr/local/apache2/bin/apachectl start
ExecStop=/usr/local/apache2/bin/apachectl stop
ExecReload=/usr/local/apache2/bin/apachectl graceful

[Install]
WantedBy=multi-user.target
2. 重新加载systemd配置
重新加载systemd配置,使新服务生效:
sudo systemctl daemon-reload
3. 启动httpd服务
sudo systemctl start httpd
sudo systemctl enable httpd
4. 检查服务状态
检查httpd服务状态,确保其正常运行:
sudo systemctl status httpd
三、配置系统服务(chkconfig)
chkconfig适用于传统的System V初始化系统,功能相对简单,主要用于管理服务在不同运行级别下的启动状态。(注意chkconfig和systemd只要选一个配置就行了哦)
1. 创建httpd系统服务文件
vim /etc/init.d/httpd
文件内容如下:
#!/bin/bash
#
# httpd        Startup script for the Apache HTTP Server
#
# chkconfig: - 85 15
# description: Apache is a World Wide Web server.  It is used to serve \
#        HTML files and CGI.

# Source function library.
. /etc/rc.d/init.d/functions

# Source networking configuration.
. /etc/sysconfig/network

# Check that networking is up.
[ "$NETWORKING" = "no" ] && exit 0

exec="/usr/local/apache2/bin/httpd"
prog="httpd"

# Check for the existence of the binary.
if [ ! -f $exec ]; then
   echo "$exec not installed"
   exit 5
fi

start() {
    echo -n $"Starting$prog: "
    daemon $exec -k start
    echo "."
}

stop() {
    echo -n $"Stopping$prog: "
    daemon $exec -k stop
    echo "."
}

rh_status() {
    # service status check is done by checking httpd process
    status $prog
}

rh_status_q() {
    rh_status >/dev/null 2>&1
}

case "$1" in
    start)
        rh_status_q && exit 0
        $1
        ;;
    stop)
        rh_status_q || exit 0
        $1
        ;;
    restart)
        $1
        ;;
    status)
        rh_status
        ;;
    *)
        echo $"Usage:$0 {start|stop|status|restart}"
        exit 2
esac

exit $?
当然也可以直接复制官方给的源码包里的apachectl启动脚本容旧版本的系统和服务管理器(用了上面的脚本就不用这个咯)
cp /usr/local/httpd-2.4.62/support/apachectl /etc/init.d/httpd
记得给它执行权限:
sudo chmod +x /etc/init.d/httpd
2. 启动httpd服务
然后,你可以使用 chkconfig 来添加这个服务并设置它开机自启:
sudo chkconfig --add httpd
sudo chkconfig httpd on
现在,你可以使用 service 命令来管理 Apache 服务:
sudo service httpd start
sudo service httpd stop
sudo service httpd restart
sudo service httpd status
3. 检查服务状态
sudo service httpd status
四、验证安装
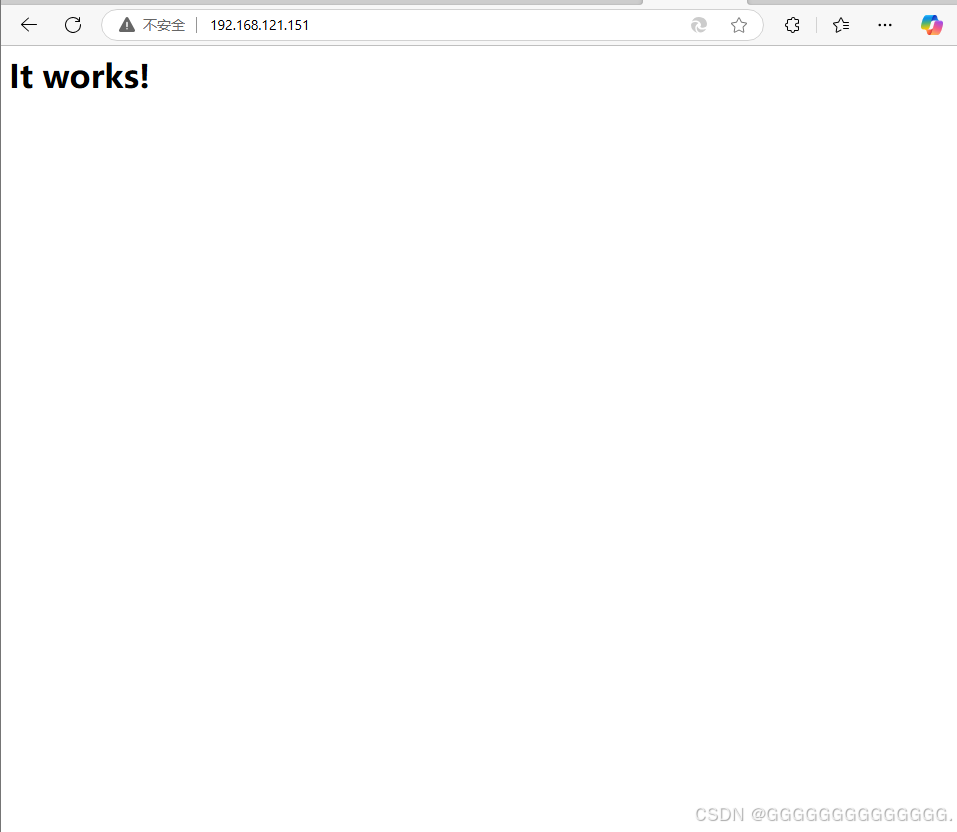
打开浏览器,访问服务器的IP地址或域名,确认Apache HTTP Server已成功运行。如果看到Apache的默认欢迎页面,则表示安装和配置成功。
五、总结
通过本文的介绍,您可以在Linux系统上手动编译安装Apache HTTP Server,并配置系统服务使其自动启动。这种安装方式虽然相对复杂,但提供了高度的灵活性和可定制性,适合对性能和配置有特殊要求的用户。在实际操作中,可以根据具体需求选择适合的安装方式。希望本文能对您的工作有所帮助。
更多推荐

 10
10 0
0- 0


 已为社区贡献2条内容

所有评论(0)