
Web3D智慧厂房 HTML5+Threejs(webgl)开发_three(2)
·

模型加载
引擎场景、相机、天地光、环境光、太阳光加载
import * as THREE from '../build/three.module.js';
import Stats from './jsm/libs/stats.module.js';
import { GUI } from './jsm/libs/dat.gui.module.js';
import { GLTFLoader } from './jsm/loaders/GLTFLoader.js';
import { GPUComputationRenderer } from './jsm/misc/GPUComputationRenderer.js';
container = document.createElement( 'div' );
document.body.appendChild( container );

camera = new THREE.PerspectiveCamera( 75, window.innerWidth / window.innerHeight, 1, 3000 );
camera.position.z = 350;

scene = new THREE.Scene();
scene.background = new THREE.Color( colors[ selectModel ] );
scene.fog = new THREE.Fog( colors[ selectModel ], 100, 1000 );

// LIGHTS

const hemiLight = new THREE.HemisphereLight( colors[ selectModel ], 0xffffff, 1.6 );
hemiLight.color.setHSL( 0.6, 1, 0.6 );
hemiLight.groundColor.setHSL( 0.095, 1, 0.75 );
hemiLight.position.set( 0, 50, 0 );
scene.add( hemiLight );

const dirLight = new THREE.DirectionalLight( 0x00CED1, 0.6 );
dirLight.color.setHSL( 0.1, 1, 0.95 );
dirLight.position.set( - 1, 1.75, 1 );
dirLight.position.multiplyScalar( 30 );
scene.add( dirLight );

renderer = new THREE.WebGLRenderer( { antialias: true } );
renderer.setPixelRatio( window.devicePixelRatio );
renderer.setSize( window.innerWidth, window.innerHeight );
container.appendChild( renderer.domElement );
三维可视化

模型着色器
<script id="fragmentShaderPosition" type="x-shader/x-fragment">

   uniform float time;
   uniform float delta;

   void main()    {

      vec2 uv = gl_FragCoord.xy / resolution.xy;
      vec4 tmpPos = texture2D( texturePosition, uv );
      vec3 position = tmpPos.xyz;
      vec3 velocity = texture2D( textureVelocity, uv ).xyz;

      float phase = tmpPos.w;

      phase = mod( ( phase + delta +
         length( velocity.xz ) * delta * 3. +
         max( velocity.y, 0.0 ) * delta * 6. ), 62.83 );

      gl_FragColor = vec4( position + velocity * delta * 15. , phase );

   }

</script>
shader.vertexShader = shader.vertexShader.replace( token2, token2 + insert );

token2 = '#include <begin_vertex>';

insert = /* glsl */`
   vec4 tmpPos = texture2D( texturePosition, reference.xy );

   vec3 pos = tmpPos.xyz;
   vec3 velocity = normalize(texture2D( textureVelocity, reference.xy ).xyz);
   vec3 aniPos = texture2D( textureAnimation, vec2( reference.z, mod( time + ( seeds.x ) * ( ( 0.0004 + seeds.y / 10000.0) + normalize( velocity ) / 20000.0 ), reference.w ) ) ).xyz;
   vec3 newPosition = position;

   newPosition = mat3( modelMatrix ) * ( newPosition + aniPos );
   newPosition *= size + seeds.y * size * 0.2;

   velocity.z *= -1.;
   float xz = length( velocity.xz );
   float xyz = 1.;
   float x = sqrt( 1. - velocity.y * velocity.y );

   float cosry = velocity.x / xz;
   float sinry = velocity.z / xz;

   float cosrz = x / xyz;
   float sinrz = velocity.y / xyz;

   mat3 maty =  mat3( cosry, 0, -sinry, 0    , 1, 0     , sinry, 0, cosry );
   mat3 matz =  mat3( cosrz , sinrz, 0, -sinrz, cosrz, 0, 0     , 0    , 1 );

   newPosition =  maty * matz * newPosition;
   newPosition += pos;

   vec3 transformed = vec3( newPosition );
`;

shader.vertexShader = shader.vertexShader.replace( token, insert );
自我介绍一下,小编13年上海交大毕业,曾经在小公司待过,也去过华为、OPPO等大厂,18年进入阿里一直到现在。
深知大多数大数据工程师,想要提升技能,往往是自己摸索成长或者是报班学习,但对于培训机构动则几千的学费,着实压力不小。自己不成体系的自学效果低效又漫长,而且极易碰到天花板技术停滞不前!
因此收集整理了一份《2024年大数据全套学习资料》,初衷也很简单,就是希望能够帮助到想自学提升又不知道该从何学起的朋友。
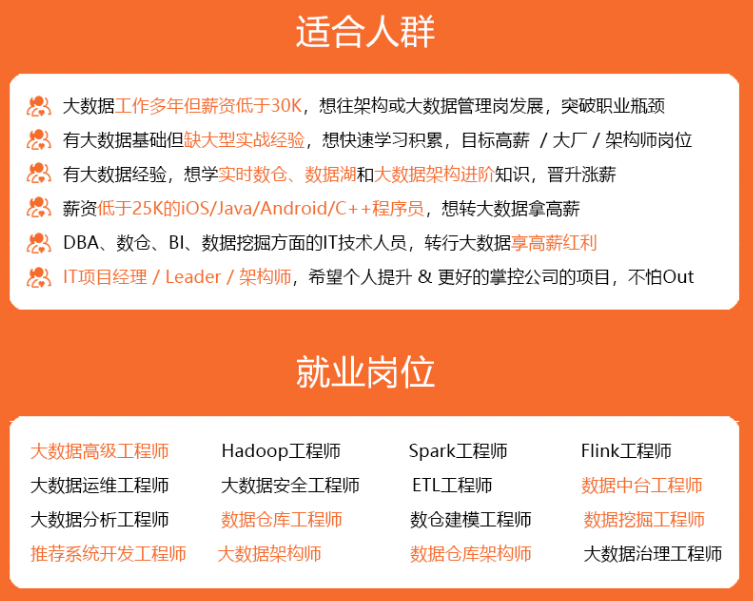
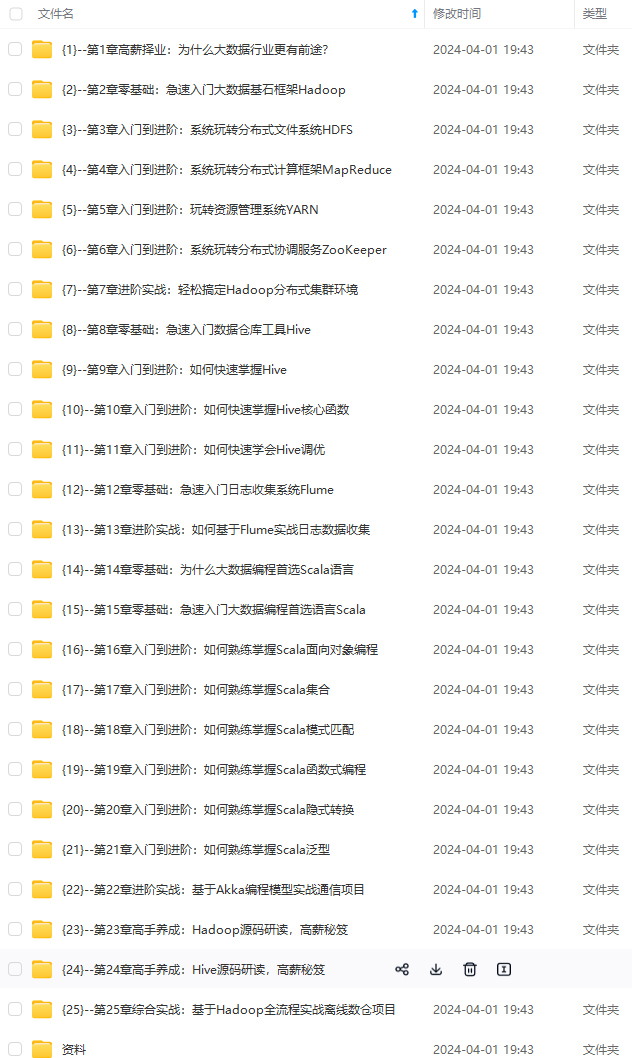
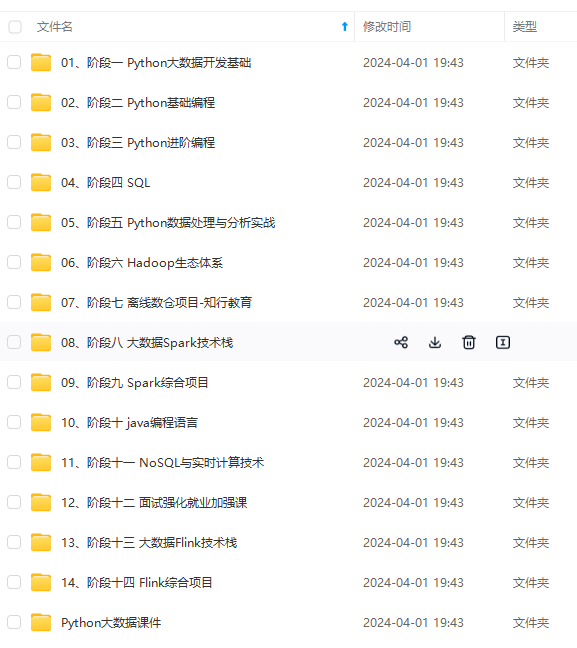
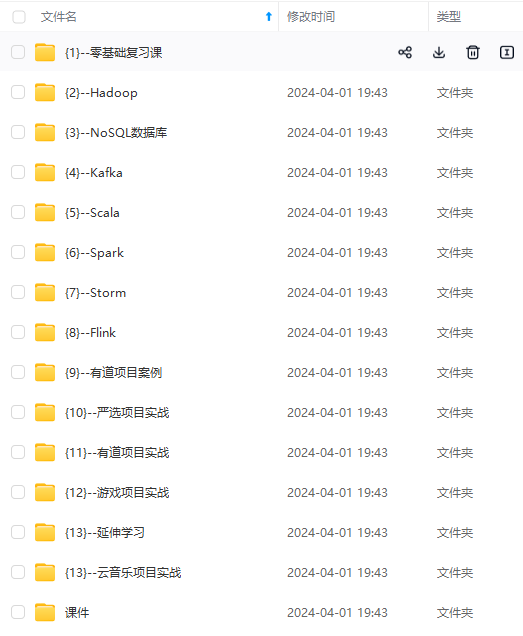
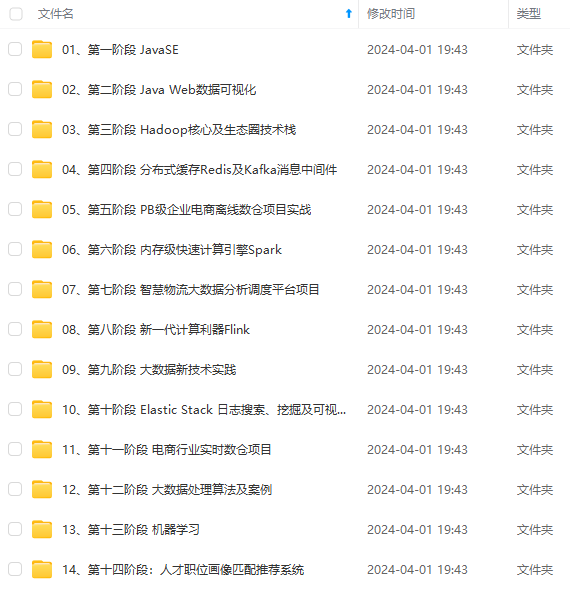
既有适合小白学习的零基础资料,也有适合3年以上经验的小伙伴深入学习提升的进阶课程,基本涵盖了95%以上大数据开发知识点,真正体系化!
由于文件比较大,这里只是将部分目录大纲截图出来,每个节点里面都包含大厂面经、学习笔记、源码讲义、实战项目、讲解视频,并且后续会持续更新
如果你觉得这些内容对你有帮助,可以添加VX:vip204888 (备注大数据获取)

部分目录大纲截图出来,每个节点里面都包含大厂面经、学习笔记、源码讲义、实战项目、讲解视频,并且后续会持续更新**
如果你觉得这些内容对你有帮助,可以添加VX:vip204888 (备注大数据获取)
[外链图片转存中…(img-g5pS2qUn-1712865241442)]
更多推荐

 5
5 0
0- 0


 已为社区贡献4条内容

所有评论(0)