
rust druid 之 Painter 绘图
painter是处理绘图的小部件,当想自定义部件外观的时候可以使用这个部件
创建绘图部件
pub fn new(f: impl FnMut(&mut PaintCtx<'_, '_, '_>, &T, &Env) + 'static) -> Self
new参数是一个方法,PaintCtx,data,Env
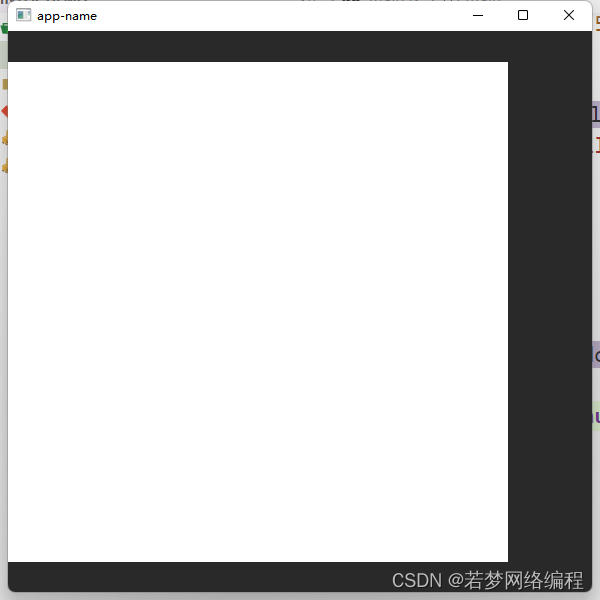
先创建一个基本的绘图部件
let painter = Painter::new(|ctx:&mut PaintCtx,data:&AppState,env|{
    //获取绘图部件的尺寸
    let size = ctx.size().to_rect();
    //填充一个形状,第一个参数是尺寸,第二个是颜色
    ctx.fill(size, &Color::WHITE);
    //设置部件的尺寸为500*500
}).fix_width(500.).height(500.);
运行图
下面我们在这个绘图部件上面进行一些创作
画一个填充的方形
pub fn fill(&mut self, shape: impl Shape, brush: &impl IntoBrush<Self>)
Shape 第一个参数是形状的参数,Shape是一个Trait,实现了Shape这个trait的有很多, 这里介绍一些经常使用的
Rect 绘制方形
let rect = Rect::new(0., 0., 100., 100.);
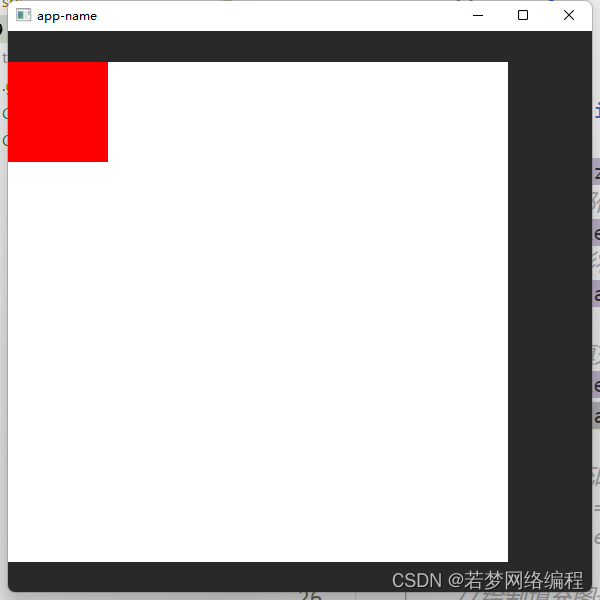
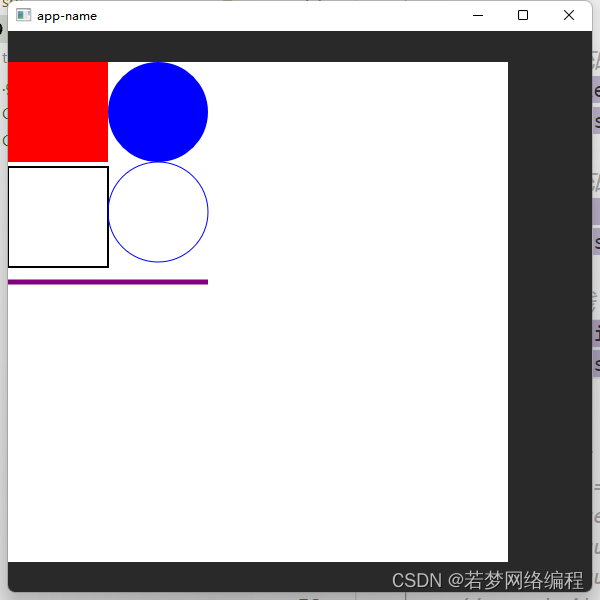
创建一个Rect,需要使用4个参数,x1,y1,x2,y2 。这四个参数组成了对角点,则绘制成了方形,下面我们使用代码创建一个红色的填充的正方形图案
//绘制一块填充的图形 x:0,y:0 x:100,y:100 的正方形
let rect = Rect::new(0., 0., 100., 100.);
ctx.fill(rect, &Color::RED);
Circle 绘制圆形
pub fn new(center: impl Into<Point>, radius: f64) -> Circle
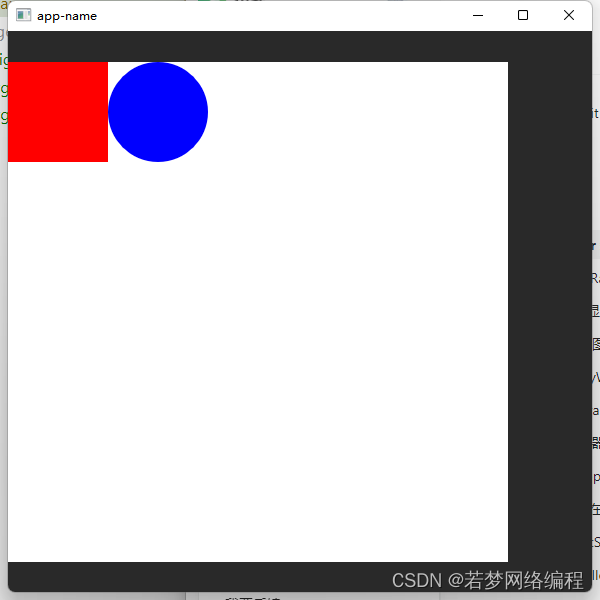
创建圆形的参数,第一个参数是中心点,第二个参数是半径,Point创建有两个参数就是x和y,下面我们创建一个圆形参数,并且使用fill绘制一个蓝色半径为50的圆
//画圆圈
let circle = Circle::new(Point::new(150., 50.), 50.);
ctx.fill(circle, &Color::BLUE);
下面介绍一个绘制不填充的方法
pub fn stroke(
    &mut self,
    shape: impl Shape,
    brush: &impl IntoBrush<Self>,
    width: f64
)
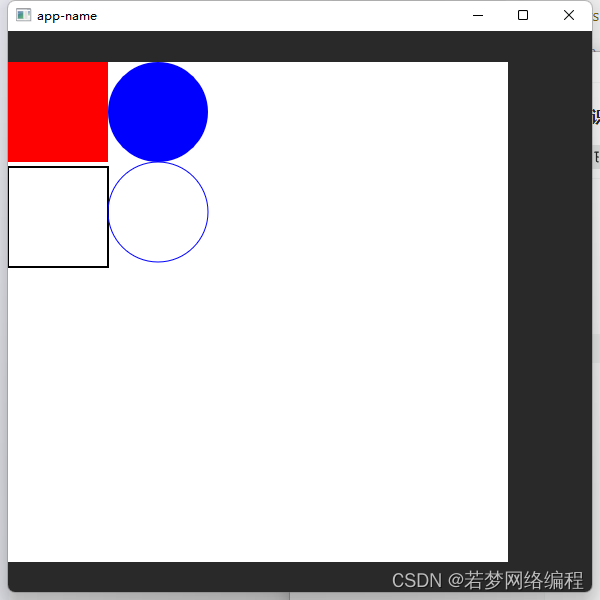
比填充的方法多了一个线宽度,下面我们使用stroke画一个方形和圆形
//绘制不填充的方形
let rect = Rect::new(0., 105., 100., 205.);
ctx.stroke(rect, &Color::BLACK,2.);
//绘制不填充的圆形
let circle = Circle::new(Point::new(150., 150.), 50.);
ctx.stroke(circle, &Color::BLUE, 1.);
Line 绘制一条线
pub fn new(p0: impl Into<Point>, p1: impl Into<Point>) -> Line
创建Line需要使用两个坐标的参数,第一个为起始点,第二个为结束点,两点连接成一条线
//创建线两端的点
let line = Line::new(Point::new(0.,220.), Point::new(200.,220.));
//绘制一条宽度为5的线t
ctx.stroke(line, &Color::PURPLE,5.);
TextLayout 绘制文字布局
pub fn draw_text(&mut self, layout: &Self::TextLayout, pos: impl Into<Point>)
绘制文字需要使用两个参数,TextLayout 文字和坐标信息,下面我们看下怎么进行创建TextLayout
//首先获取文字
pub fn text(&mut self) -> &mut Self::Text
Text有一个创建TextLayoutBuilder方法
pub fn new_text_layout(
    &mut self,
    text: impl TextStorage
) -> Self::TextLayoutBuilder
创建一个新的并且设置文字,我们使用代码来书写,我们得到了TextLayoutBuilder,这个还不是我们想要的类型,使用TextLayoutBuilder中的builder方法创建TextLayout
在没有build之前,可以对文字进行一些设置,使用default_attribute方法
pub fn default_attribute(self, attribute: impl Into<TextAttribute>) -> Self
type Out: TextLayout
pub fn build(self) -> Result<Self::Out, Error>
下面我们使用代码把这个文字创建出来,并绘制
let point = Point::new(0., 250.);
let text = ctx.text();
let new_text = text.new_text_layout("hello world")
    //文字颜色
    .default_attribute(TextAttribute::TextColor(Color::RED))
    //文字大小
    .default_attribute(TextAttribute::FontSize(20.))
    .build().unwrap();
ctx.draw_text(&new_text, point);
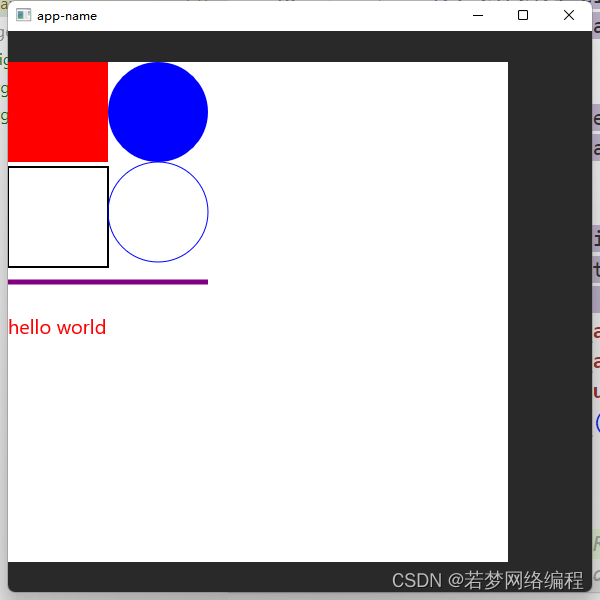
Image 绘制图片
pub fn draw_image(
   &mut self,
   image: &Self::Image,
   dst_rect: impl Into<Rect>,
   interp: InterpolationMode
)
第一个参数是图片,第二个为绘制的尺寸,第三个为绘制方式(最近邻不插值、双线性插值)
读取图片可以使用druid的ImageBuf::from_file直接传入图片地址,使用from_file需要使用features=[“image-all”]
druid = { git = "https://github.com/linebender/druid.git" ,features = ["image-all"]}
下面我们绘制一个图片到部件
//绘制图片
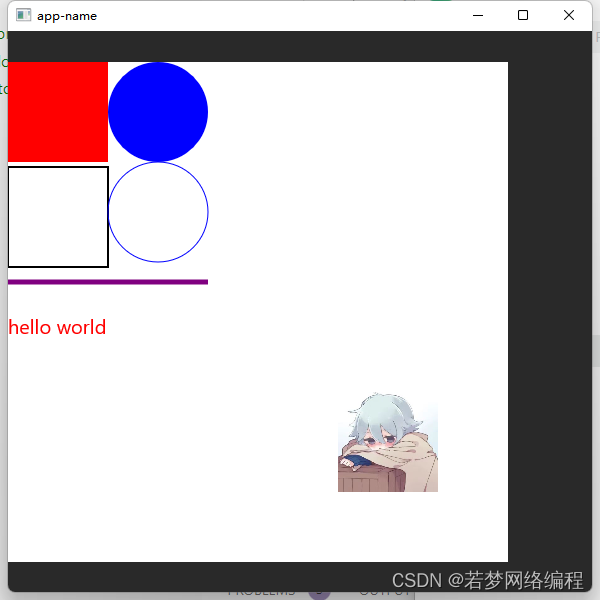
let image = ImageBuf::from_file("E:/bizhi/200.jpg").unwrap()
    //使用to_image转换下
    .to_image(ctx.render_ctx);
let rect = Rect::new(330., 330., 430., 430.);
ctx.draw_image(&image, rect, InterpolationMode::Bilinear);
这个绘制部件还有很多的方法,可以高斯模糊绘制矩形blurred_rect,清除指定的颜色等,这里就不一一列举了
公众号有更多文章,欢迎关注!!!
更多推荐



 0
0 0
0- 0


 已为社区贡献2条内容

所有评论(0)