
tkinter macos不显示菜单
# 背景
macos学习tkinter, 如下代码,在窗口没有显示菜单
```python
import tkinter as tk
self.root = tk.TK()
menubar = tk.Menu(self.root)
menubar.add_command(label='A')
self.root.config(menu=menubar)
# 解决方法
```tkinter 8.5文档说明
5.2. Top-level menus
Especially under MacOS, it is sometimes desirable to create menus that are shown as part of the toplevel window. To do this, follow these steps.
1. Using any widget W, obtain the top-level window by using the W.winfo_toplevel() method.
2. Create a Menu widget, using the top-level window as the first argument.
3. Items added to this Menu widget will be displayed across the top of the application.
Here is a brief example. Assume that self is the application instance, an instance of a class that inherits
from Frame. This code would create a top-level menu choice named “Help” with one choice named
“About” that calls a handler named self.__aboutHandler:
top = self.winfo_toplevel()
self.menuBar = tk.Menu(top)
top['menu'] = self.menuBar
self.subMenu = tk.Menu(self.menuBar)
self.menuBar.add_cascade(label='Help', menu=self.subMenu)
self.subMenu.add_command(label='About', command=self.__aboutHandler)
There is some variation in behavior depending on your platform.
• Under Windows or Unix systems, the top-level menu choices appear at the top of your application's
main window.
• Under MacOS X, the top-level menu choices appear at the top of the screen when the application is
active, right where Mac users expect to see them.
You must use the .add_cascade() method for all the items you want on the top menu bar. Calls
to .add_checkbutton(), .add_command(), or .add_radiobutton() will be ignored.
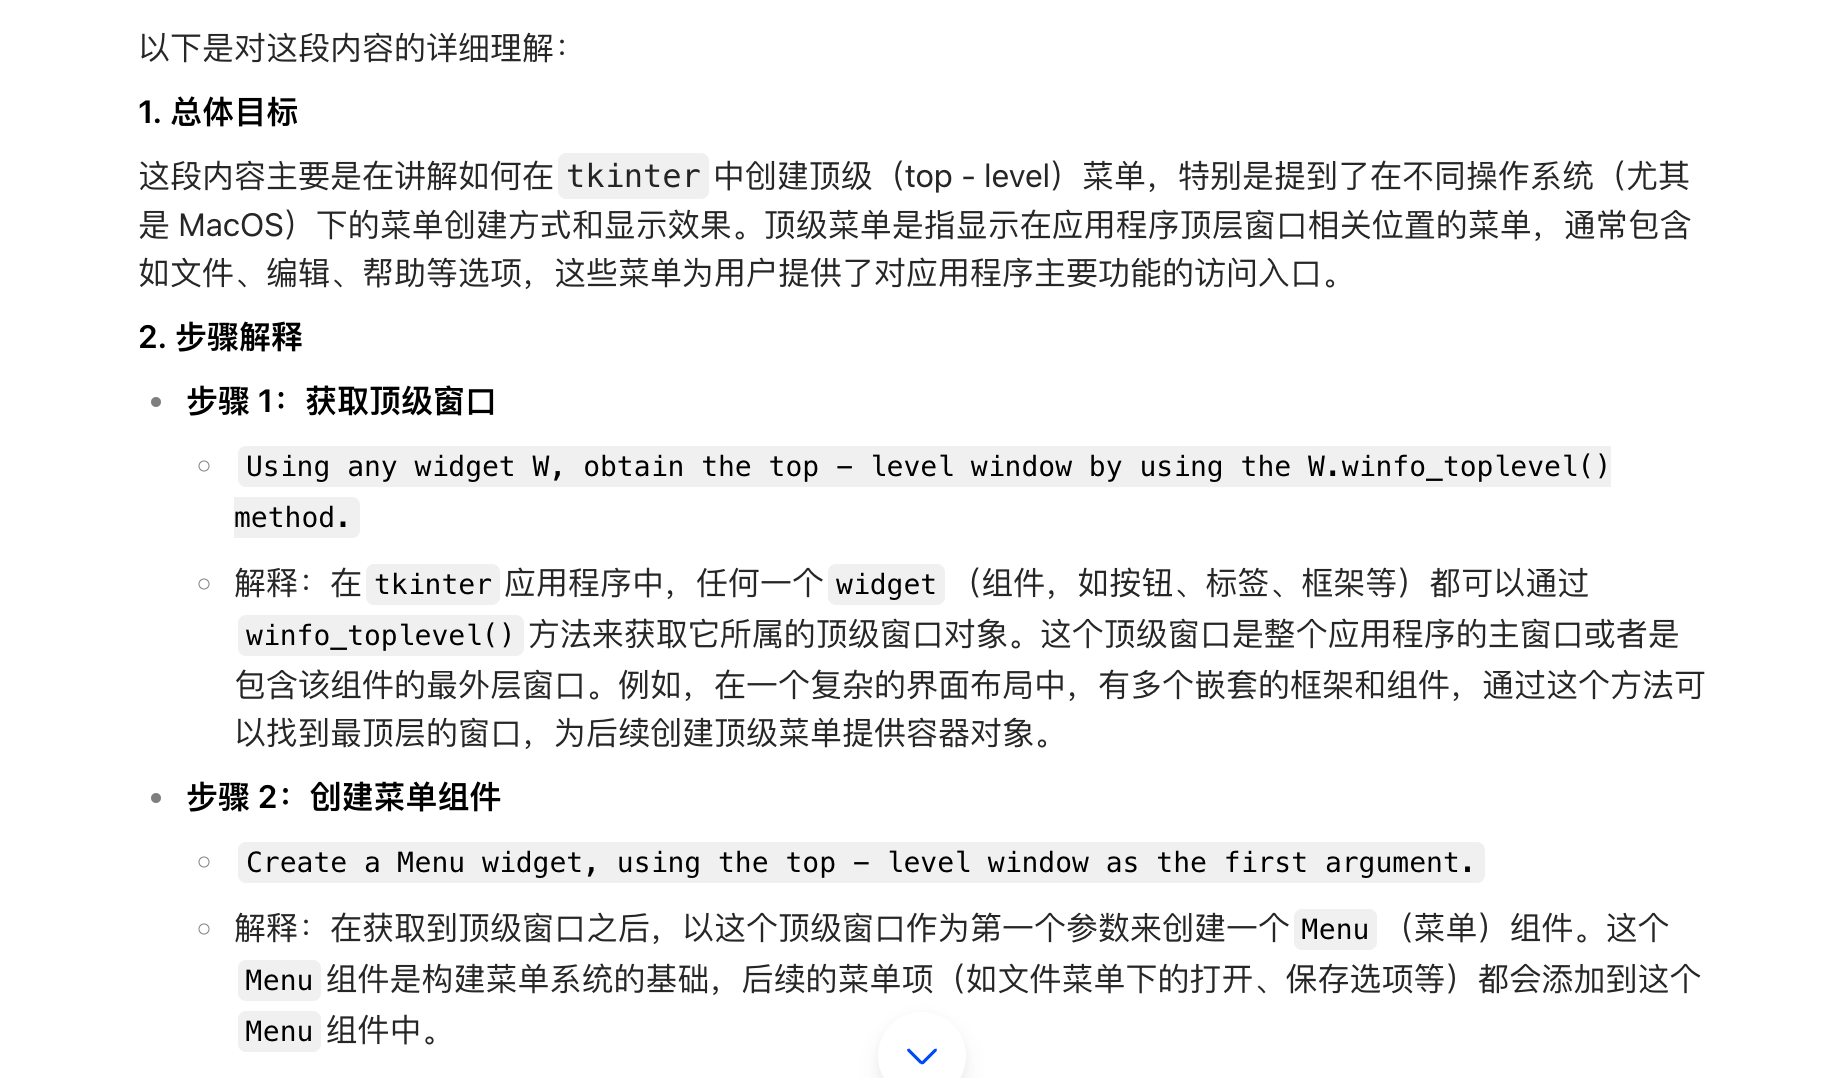
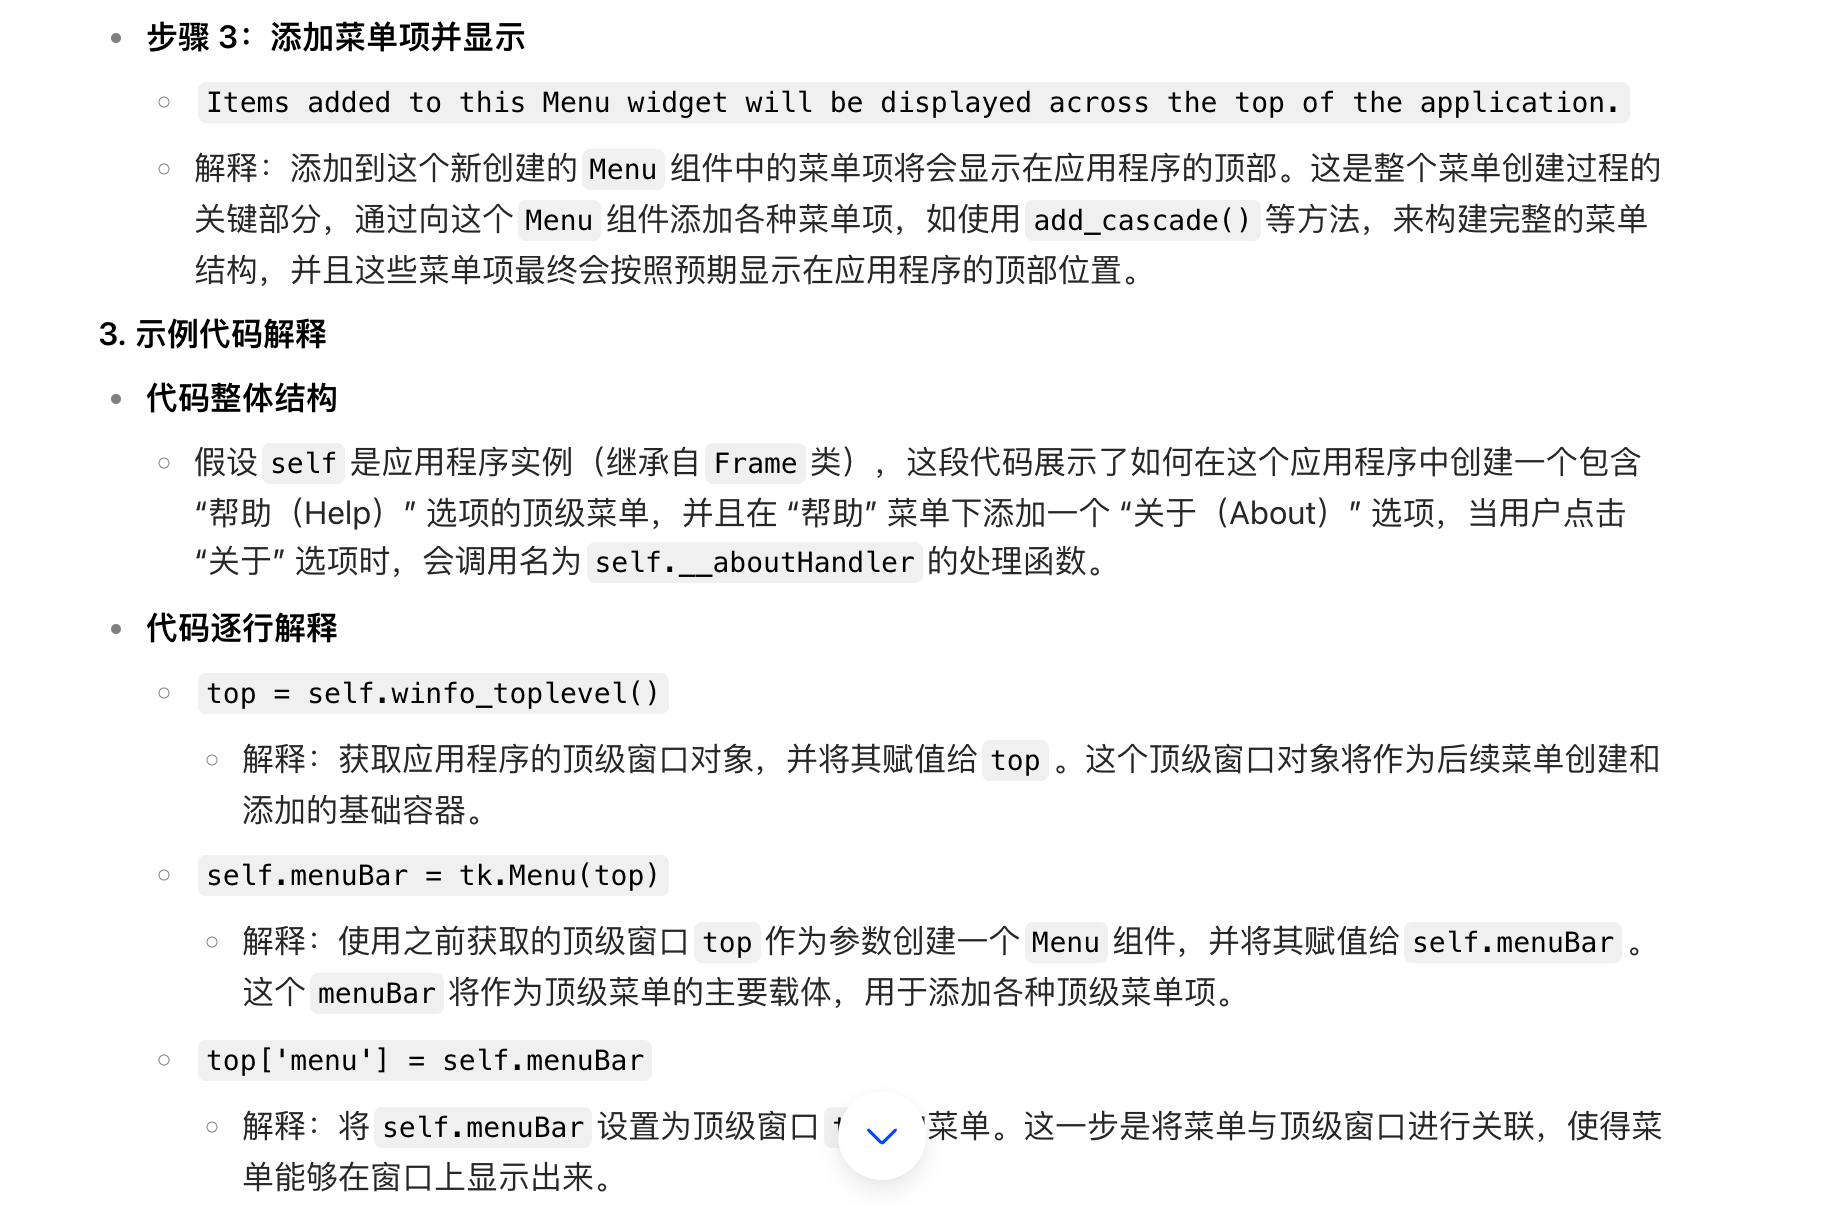
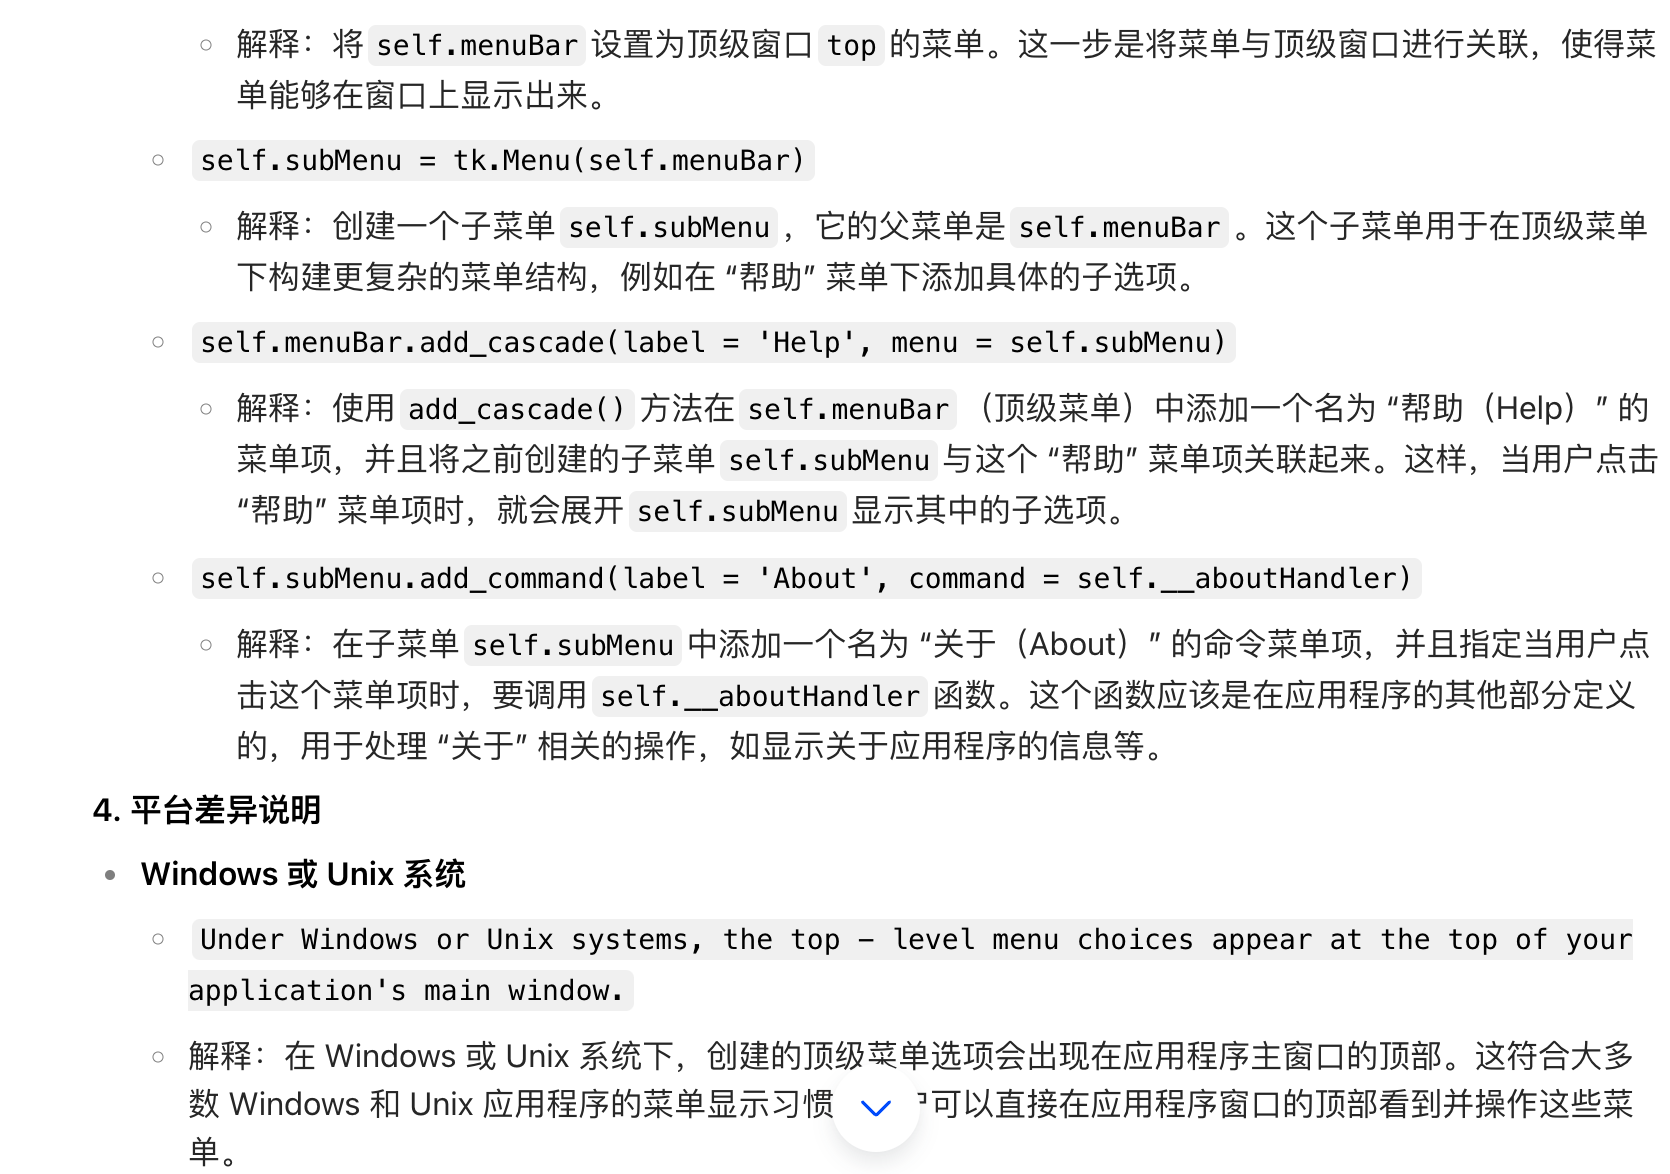
下面看豆包给的解释
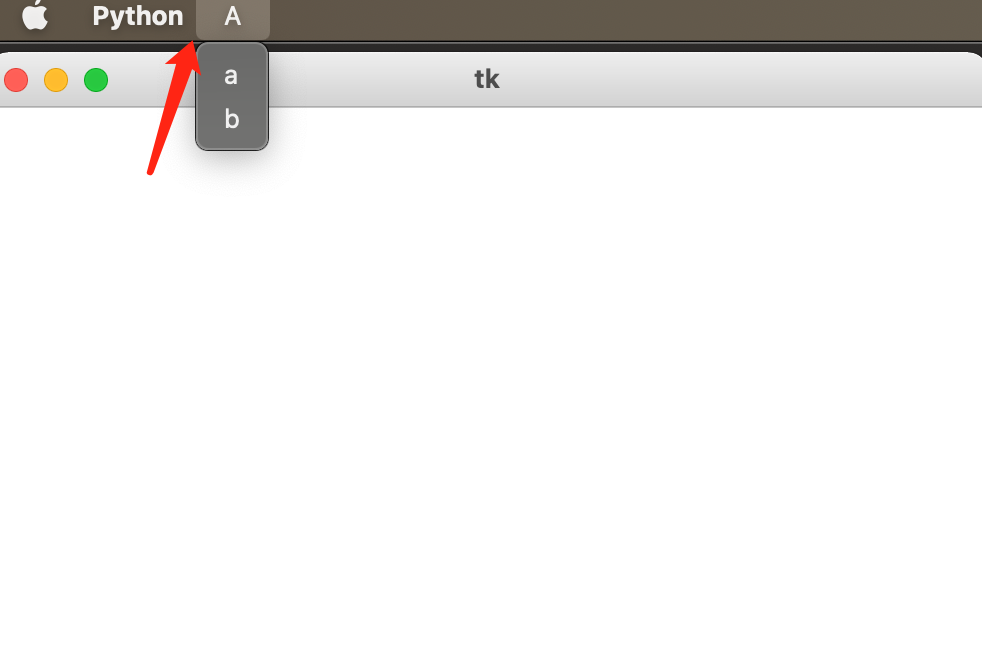
# 最后呈现效果
menubar = tk.Menu(self.root)
file_menu = tk.Menu(menubar)
file_menu.add_command(label='a')
file_menu.add_command(label='b')
menubar.add_cascade(label='A', menu=file_menu)
self.root.config(menu=menubar)
更多推荐

 49
49 0
0- 0


 已为社区贡献1条内容

所有评论(0)