
win10+anaconda+pycharm 安装(2020最新版),配置,管理python包
win10+anaconda+pycharm 安装(2020最新版),配置,管理python包
系列博客
win10+anaconda+pycharm 包管理,配置
win10+anaconda+pycharm python画图完整过程
anaconda安装
(1)进入anaconda官网
(2)点击Download按钮
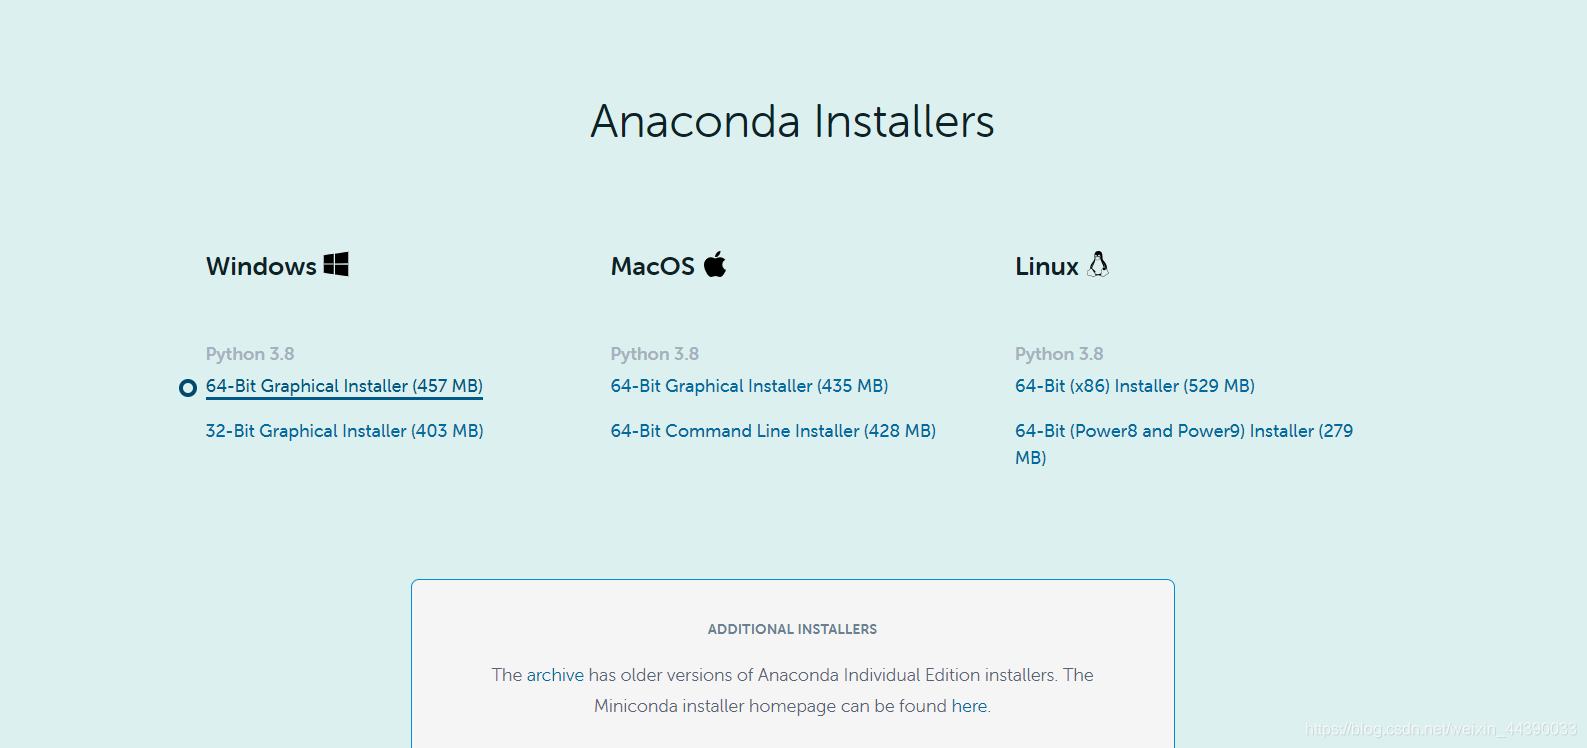
(3)根据自己系统位数选择32位or64位,我的是64位的,怎么看电脑位数:此电脑-右键-属性。点击下载;
(4)双击下载好的文件:Anaconda3-2020.11-Windows-x86_64.exe,接下来步骤看截图:
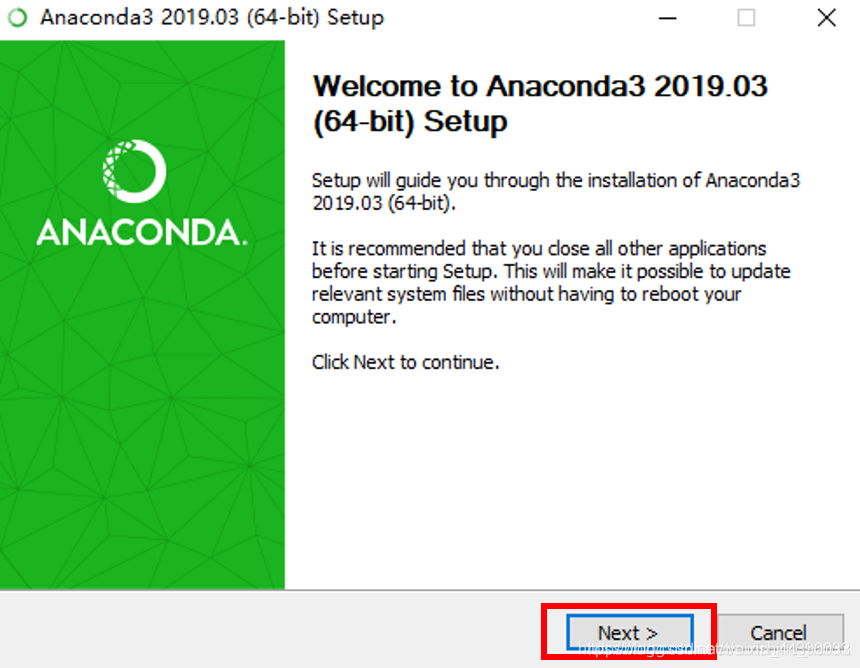
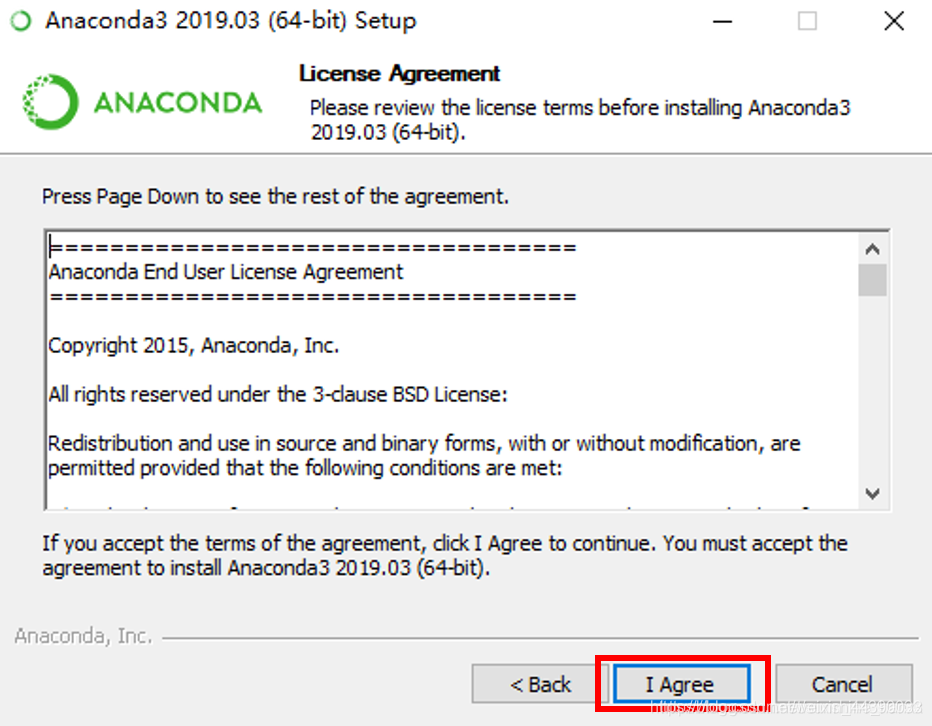
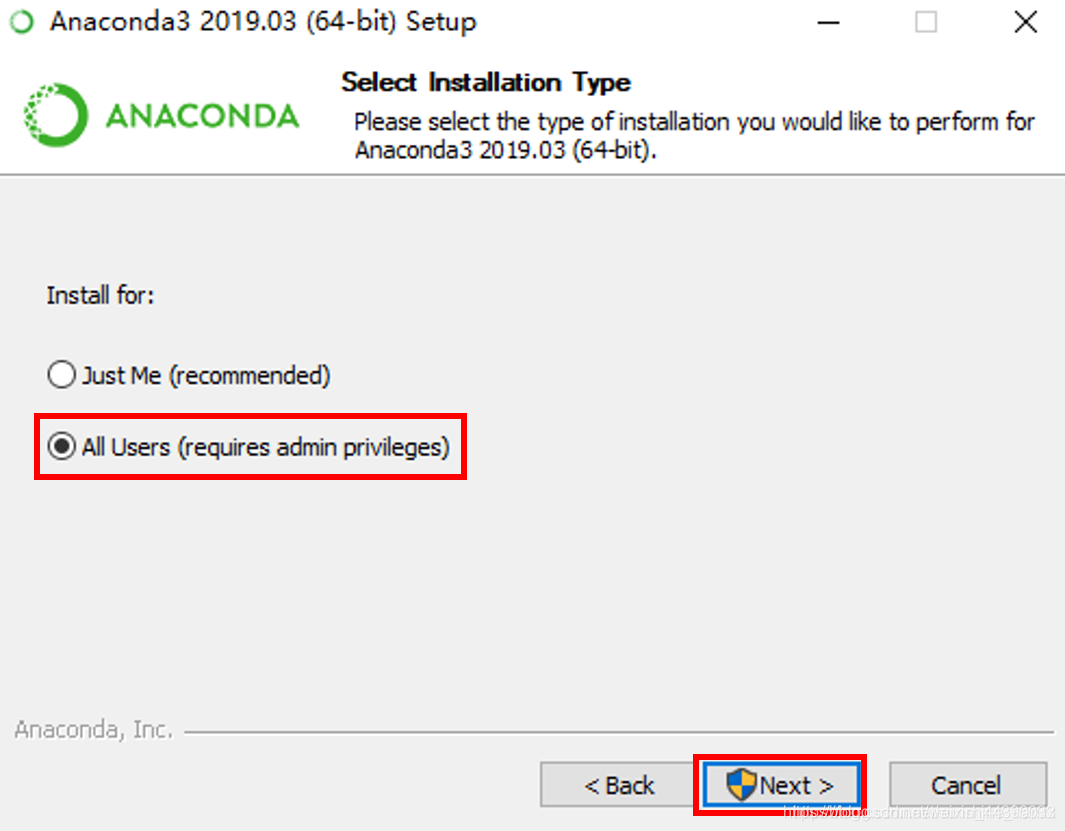
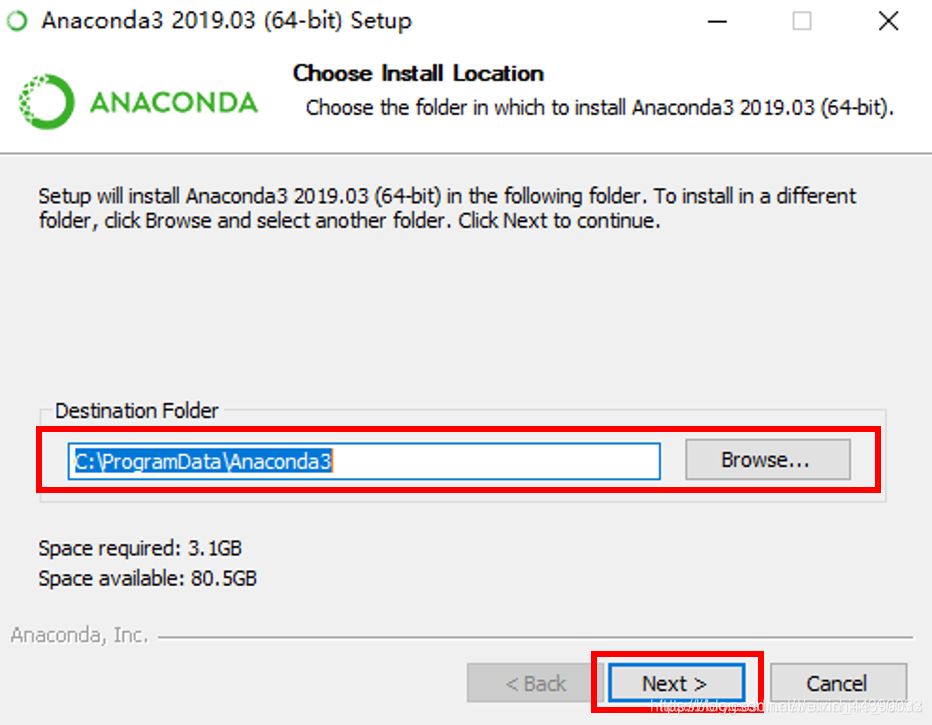
(5)然后点击Next进入到Advanced Options界面。其中有两个选项框,建议将第一个选项框(Add Anaconda to my PATH environment variable,默认为不选)选上。然后点击Install,等待安装完成点击Next –> Finish即可
注:可以在命令行中输入conda –version命令检验是否安装成功,成功会显示对应的版本,可以通过python –version命令查看发行版默认的Python 版本(前提是第3步中Add Anaconda to my PATH environment variable的选项框选上)。安装位置可以自选,我是在D盘新建Anaconda3文件夹,里面不要有东西,然后选择安装路径就选择为D:\Anaconda3。
pycharm安装
PyCharm是一种Python IDE,带有一整套可以帮助用户在使用Python语言开发时提高其效率的工具,比如调试、语法高亮、Project管理、代码跳转、智能提示、自动完成、单元测试、版本控制。
(1)下载:pycharm官网社区版(Community Edition)
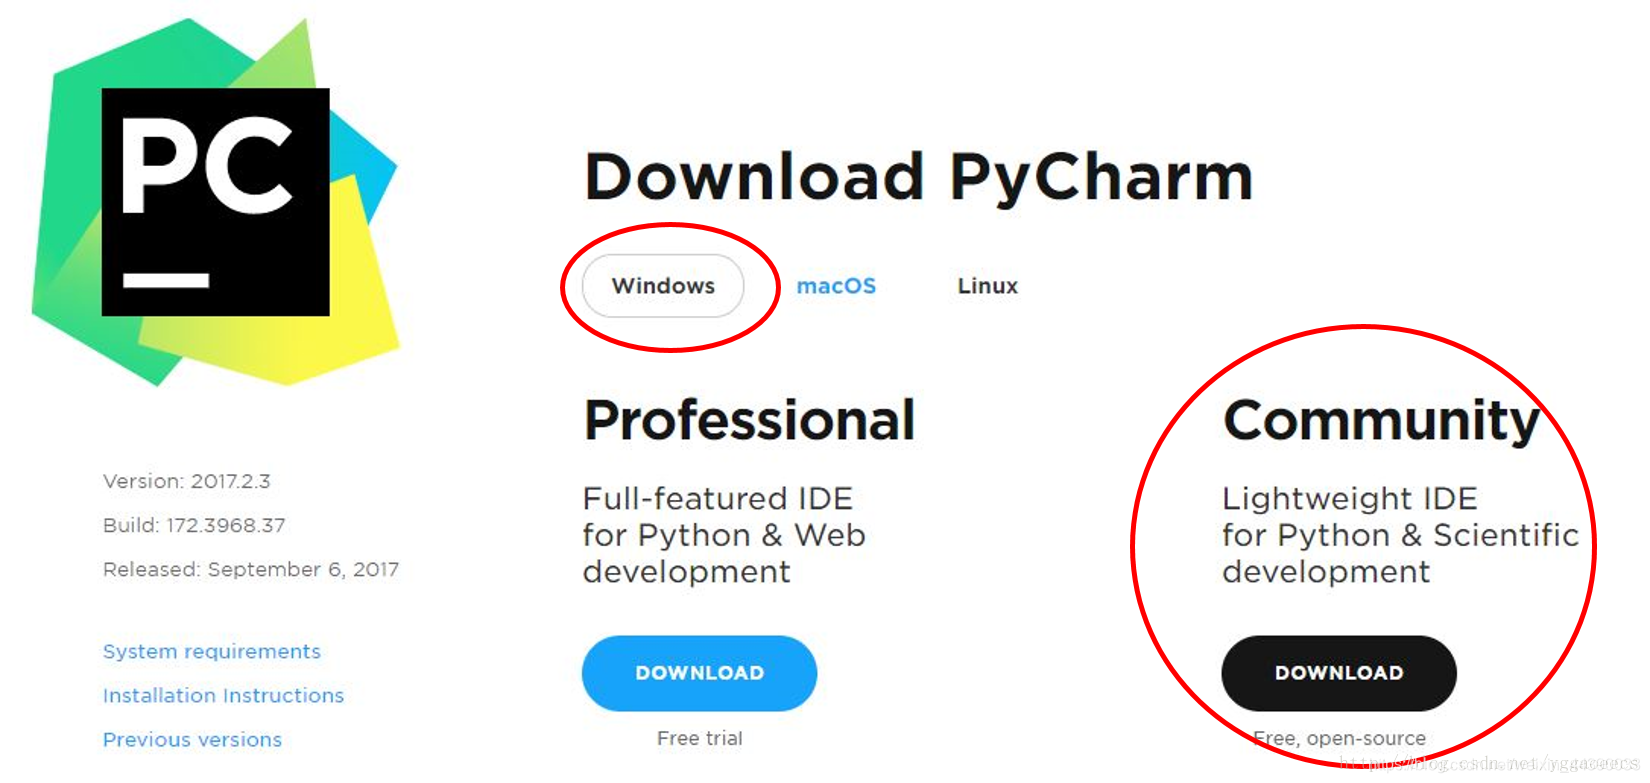
(2)安装:看截图
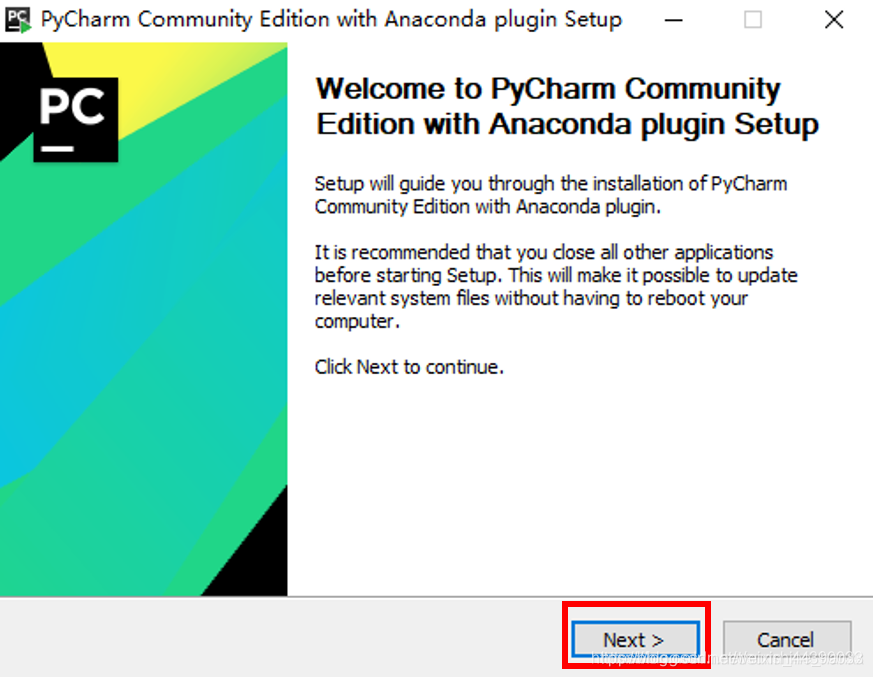
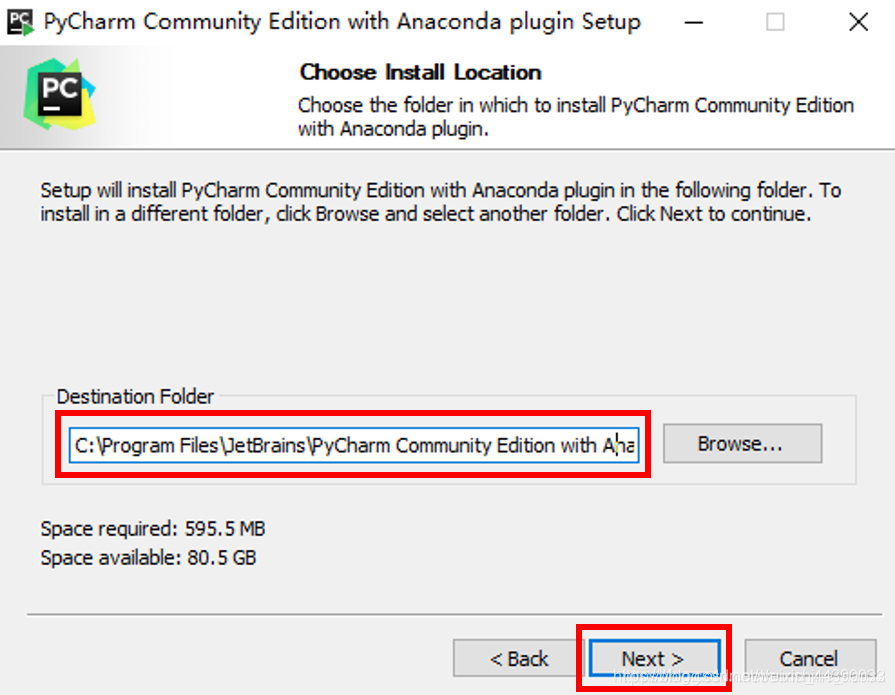
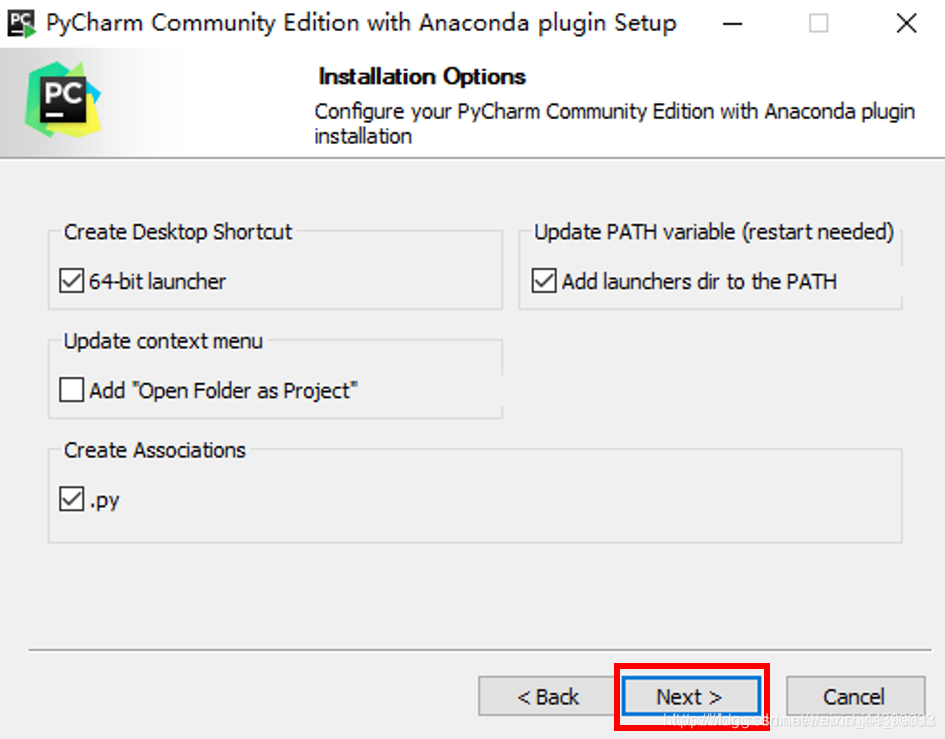
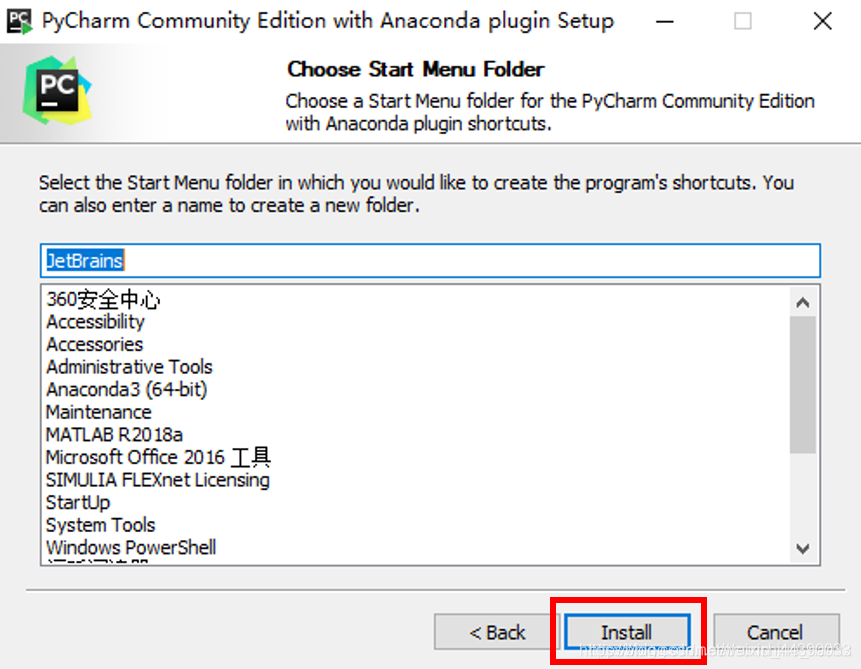
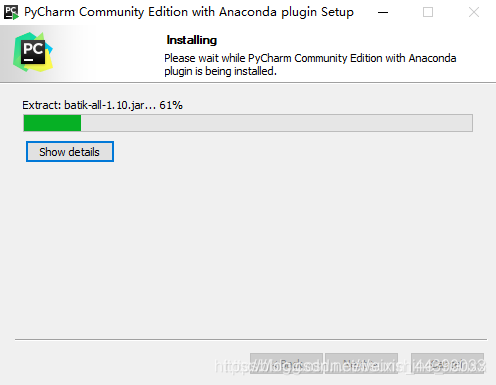
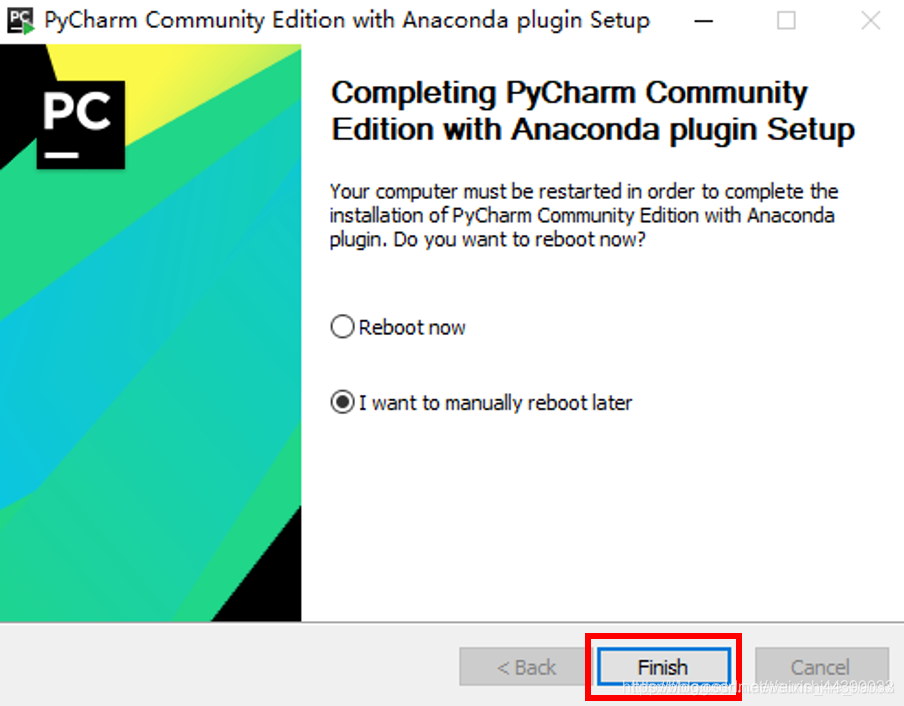
注:安装位置可以不设置在C盘,可以放在其他盘,但文件名字需要为英文。
pycharm配置
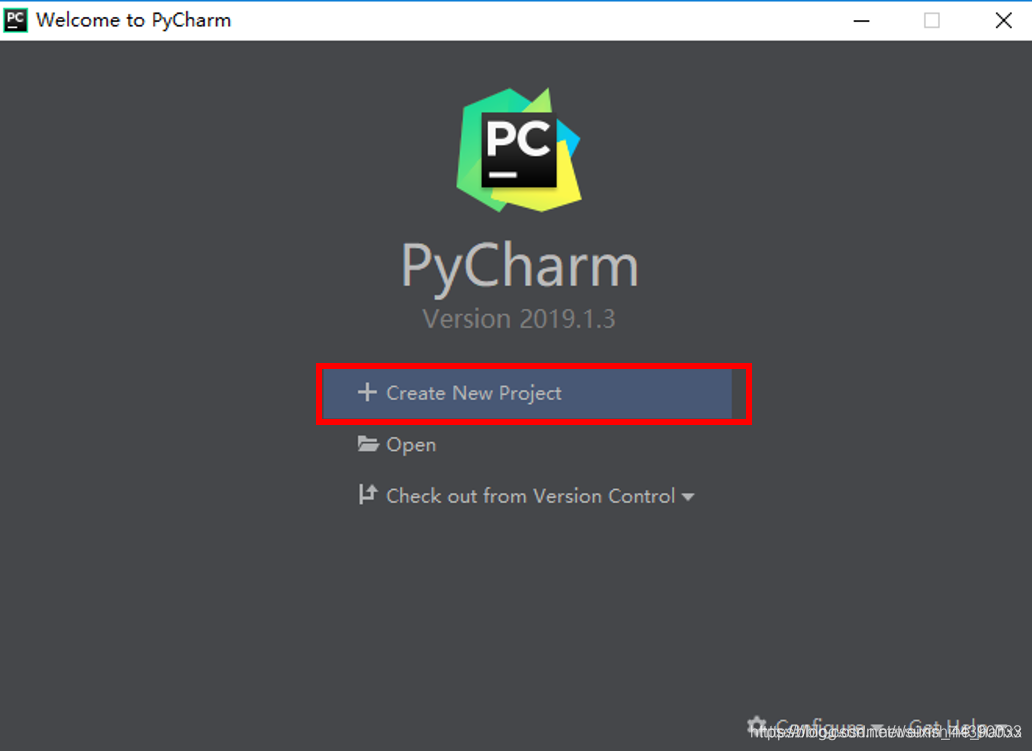
(1)双击打开pycharm
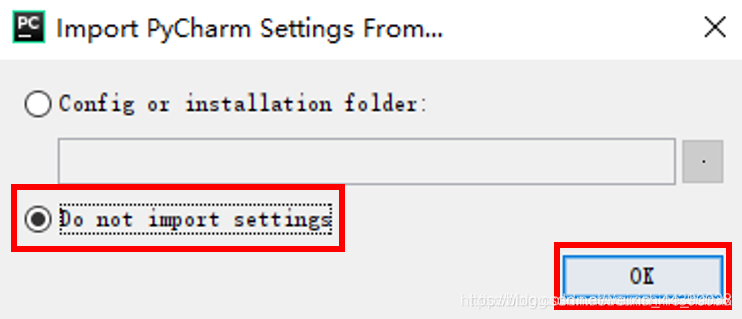
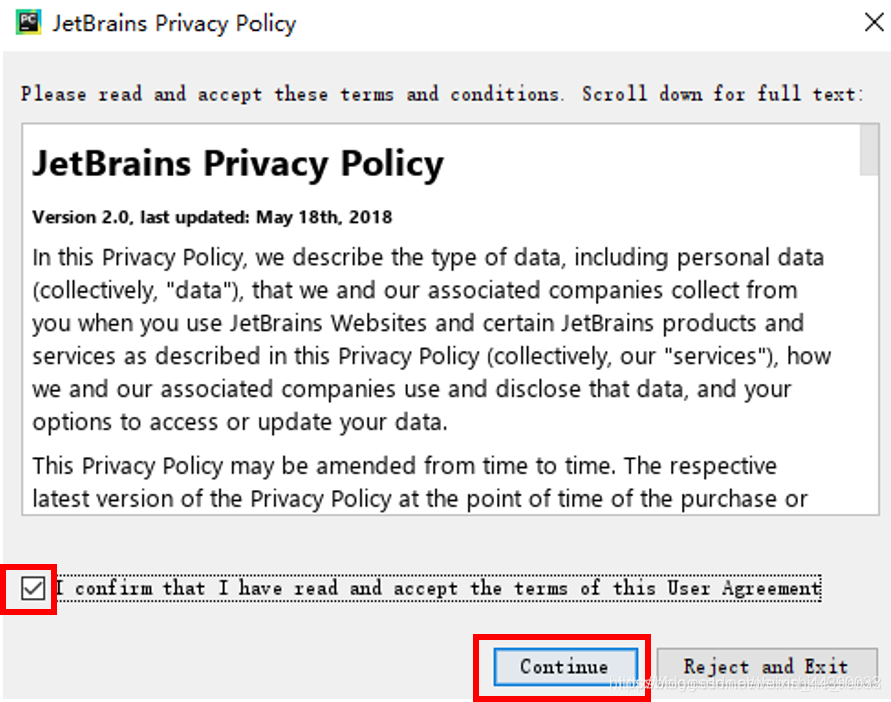
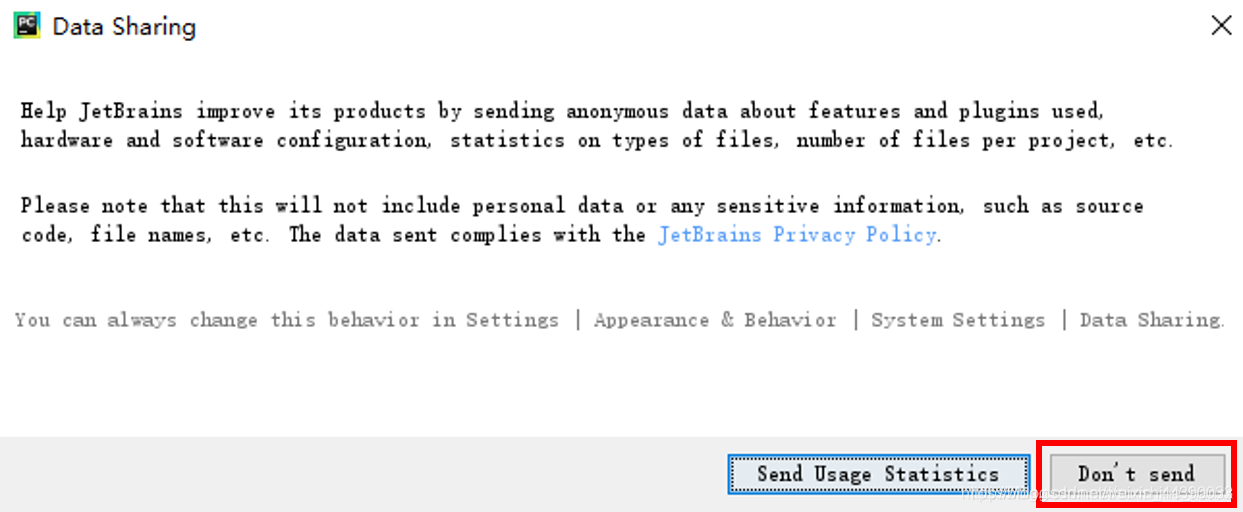
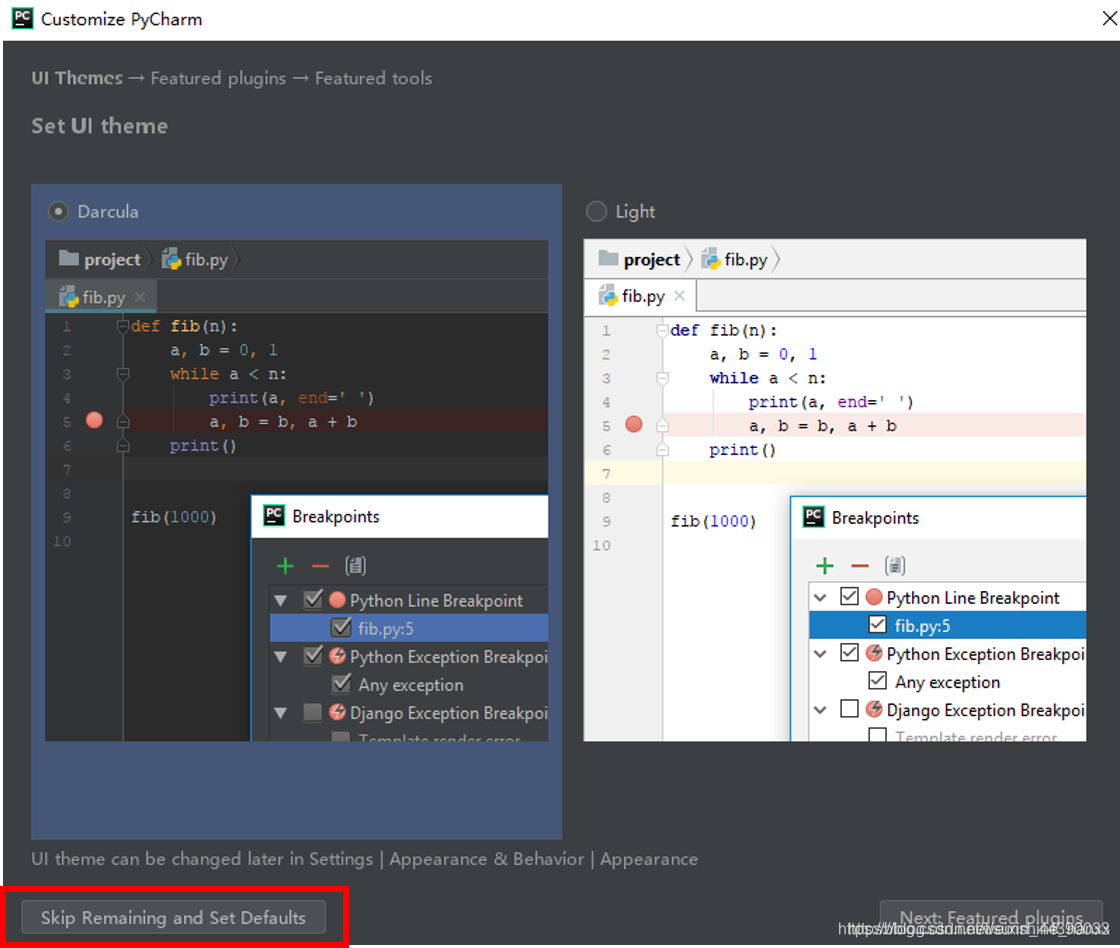
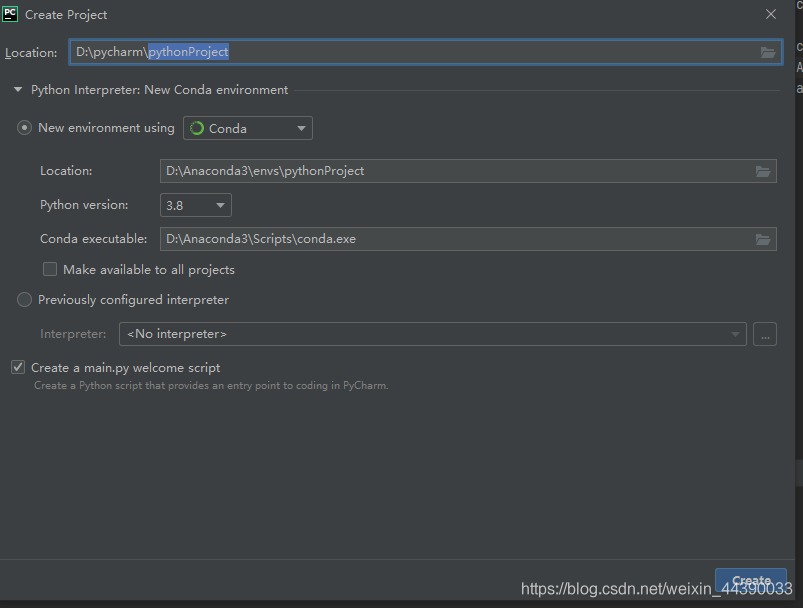
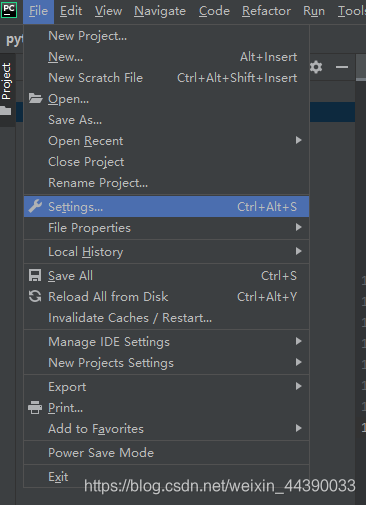
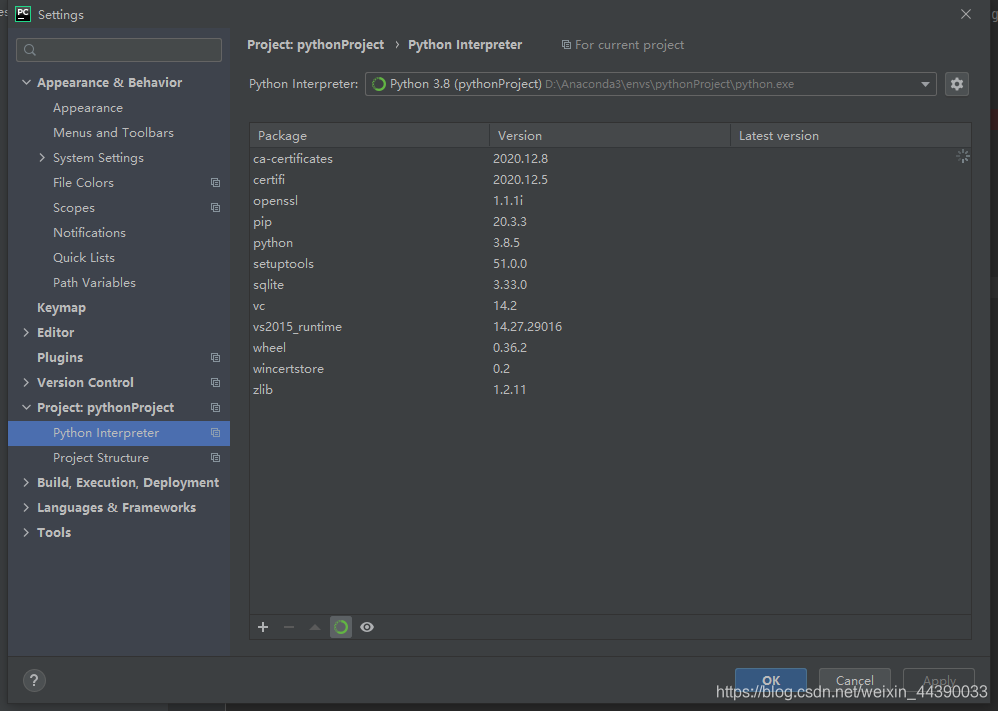
查看配置:
测试:
# This is a sample Python script.

# Press Shift+F10 to execute it or replace it with your code.
# Press Double Shift to search everywhere for classes, files, tool windows, actions, and settings.


def print_hi(name):
    # Use a breakpoint in the code line below to debug your script.
    print(f'Hi, {name}')  # Press Ctrl+F8 to toggle the breakpoint.


# Press the green button in the gutter to run the script.
if __name__ == '__main__':
    print_hi('PyCharm')

# See PyCharm help at https://www.jetbrains.com/help/pycharm/
参考博客
更多推荐


 1
1 0
0- 0


 已为社区贡献1条内容

所有评论(0)